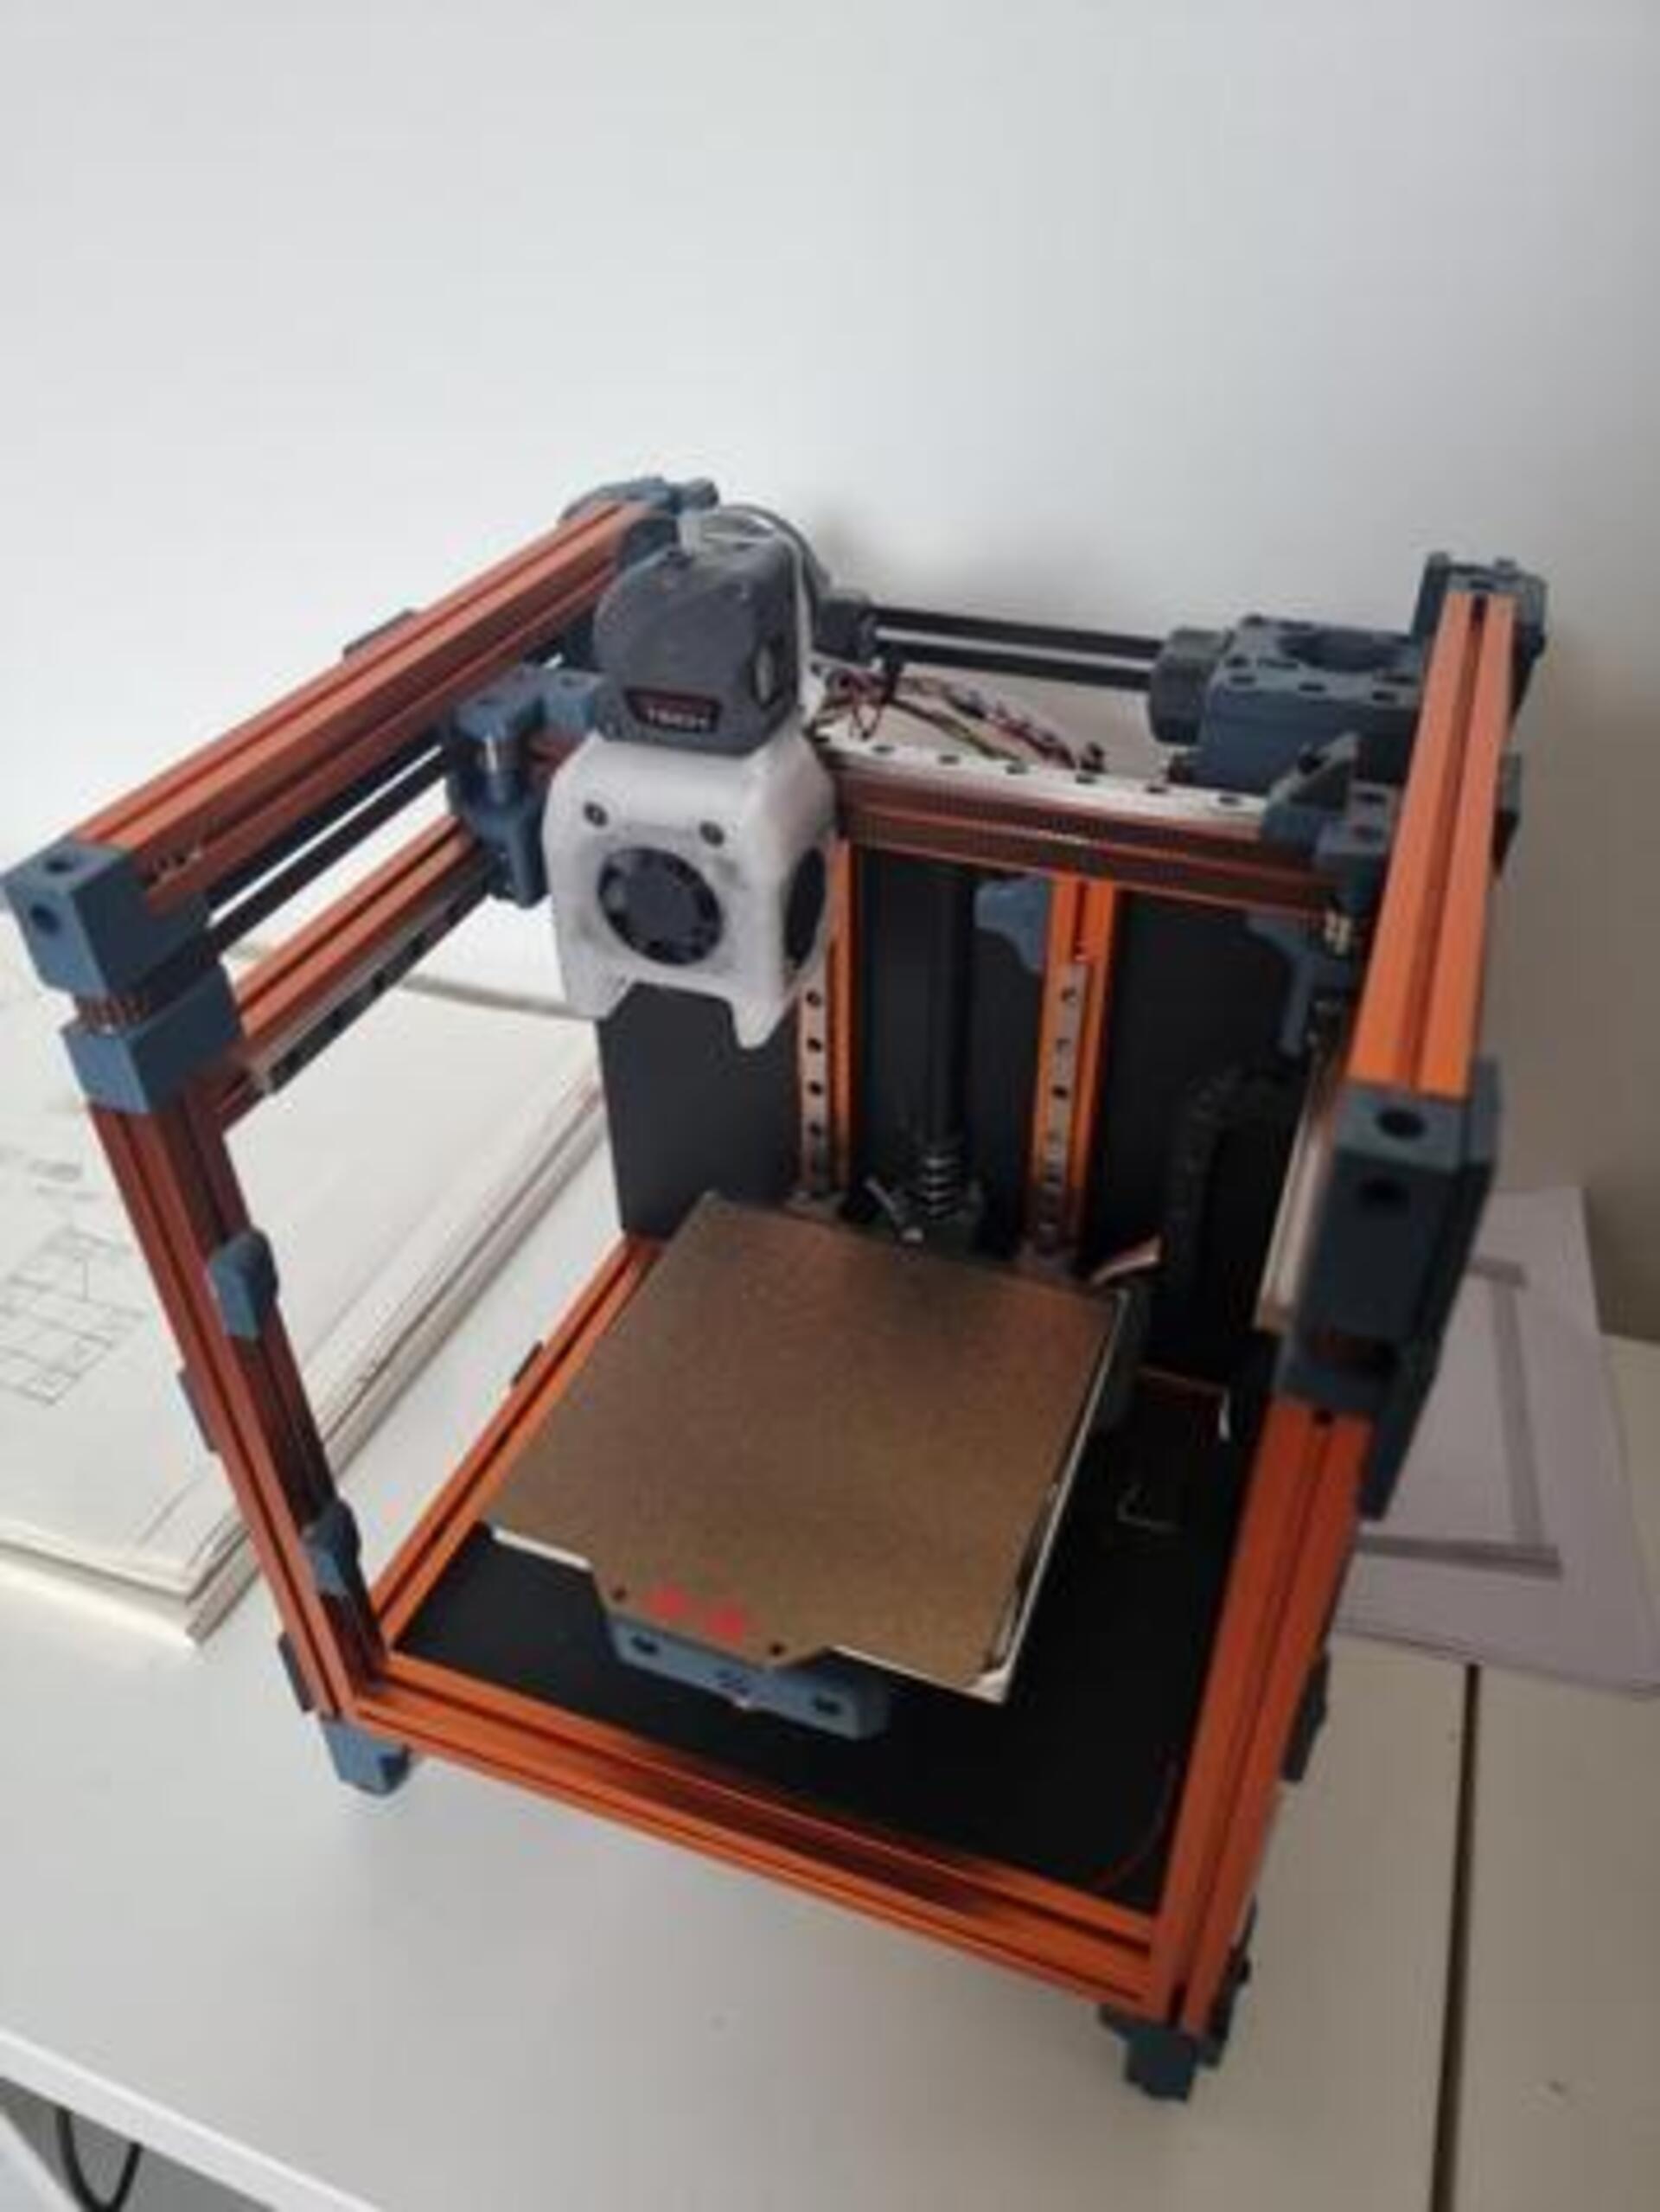
Voron V0 volcano hotend
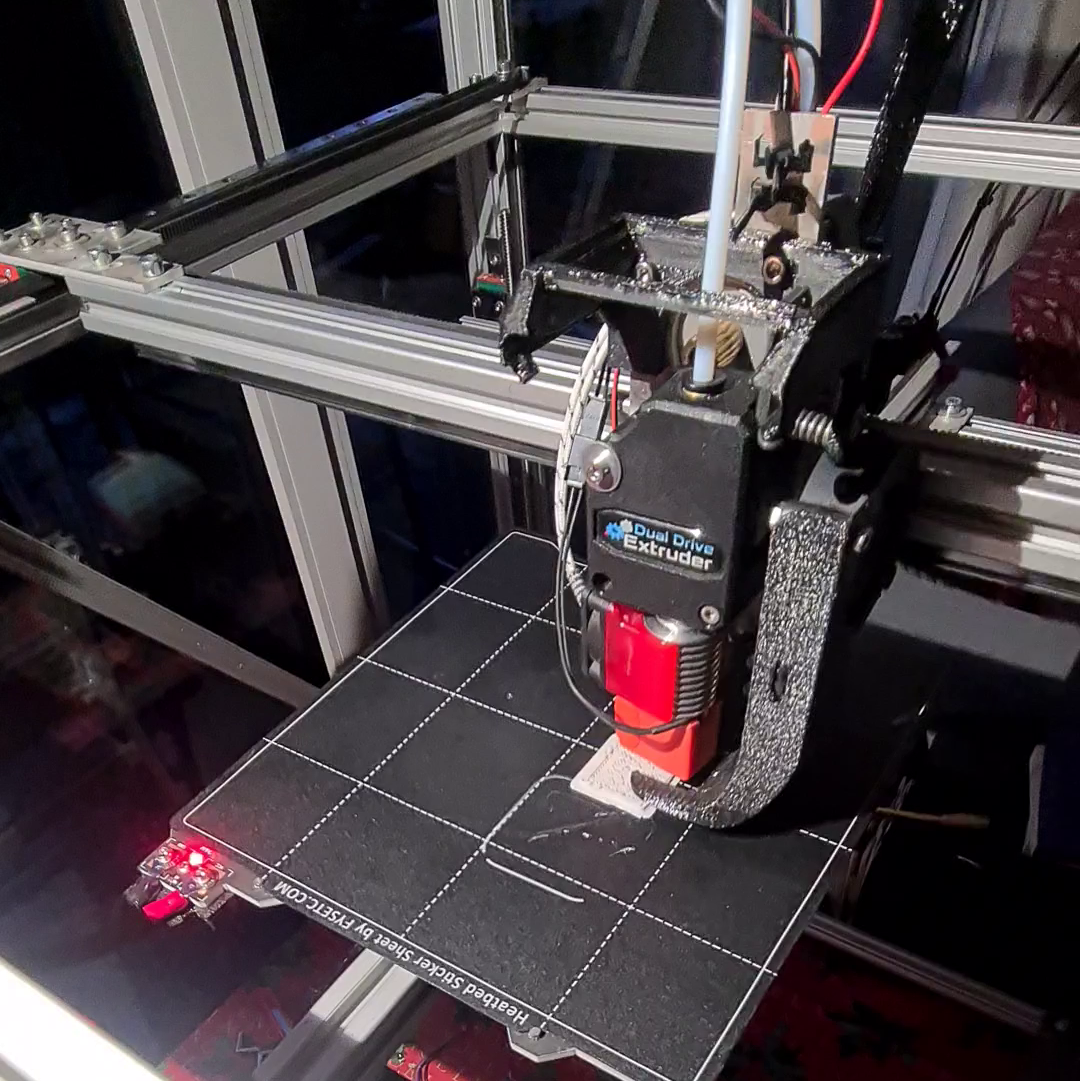
For my Voron V0, I chose to rebuild a secondhand kit and upgrade it with high CRI LEDs for the bed and hotend, a volcano hotend, bimetallic heatbreak, LGX lite and a full sized hat. Most interesting is the volcano hotend on a voron V0.2, so I focus on that:
The original had a lot of problems, so many parts were swapped and upgraded.
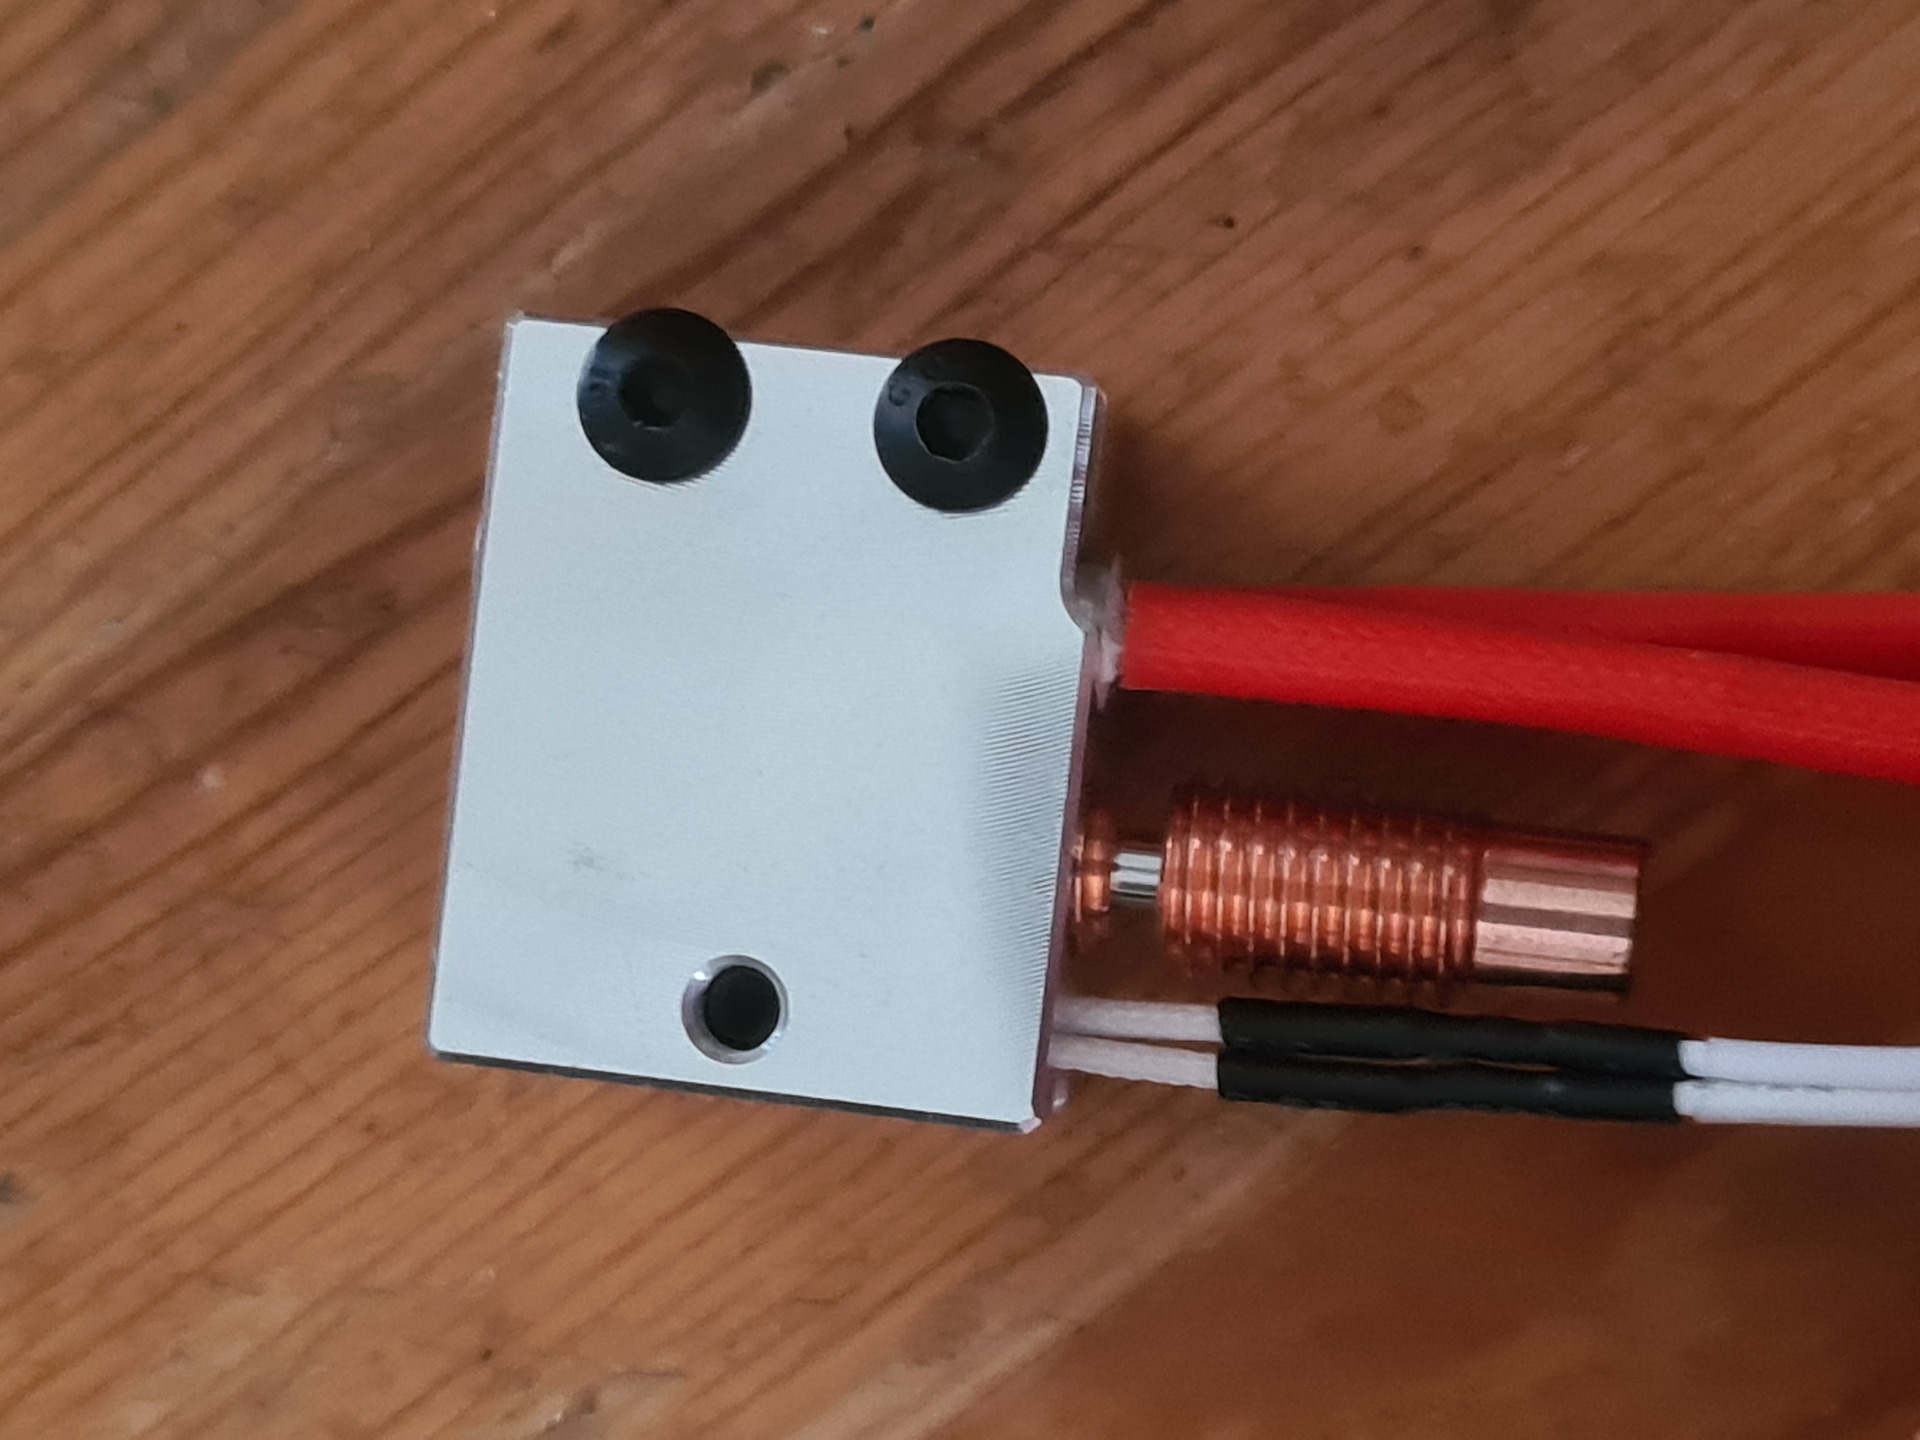
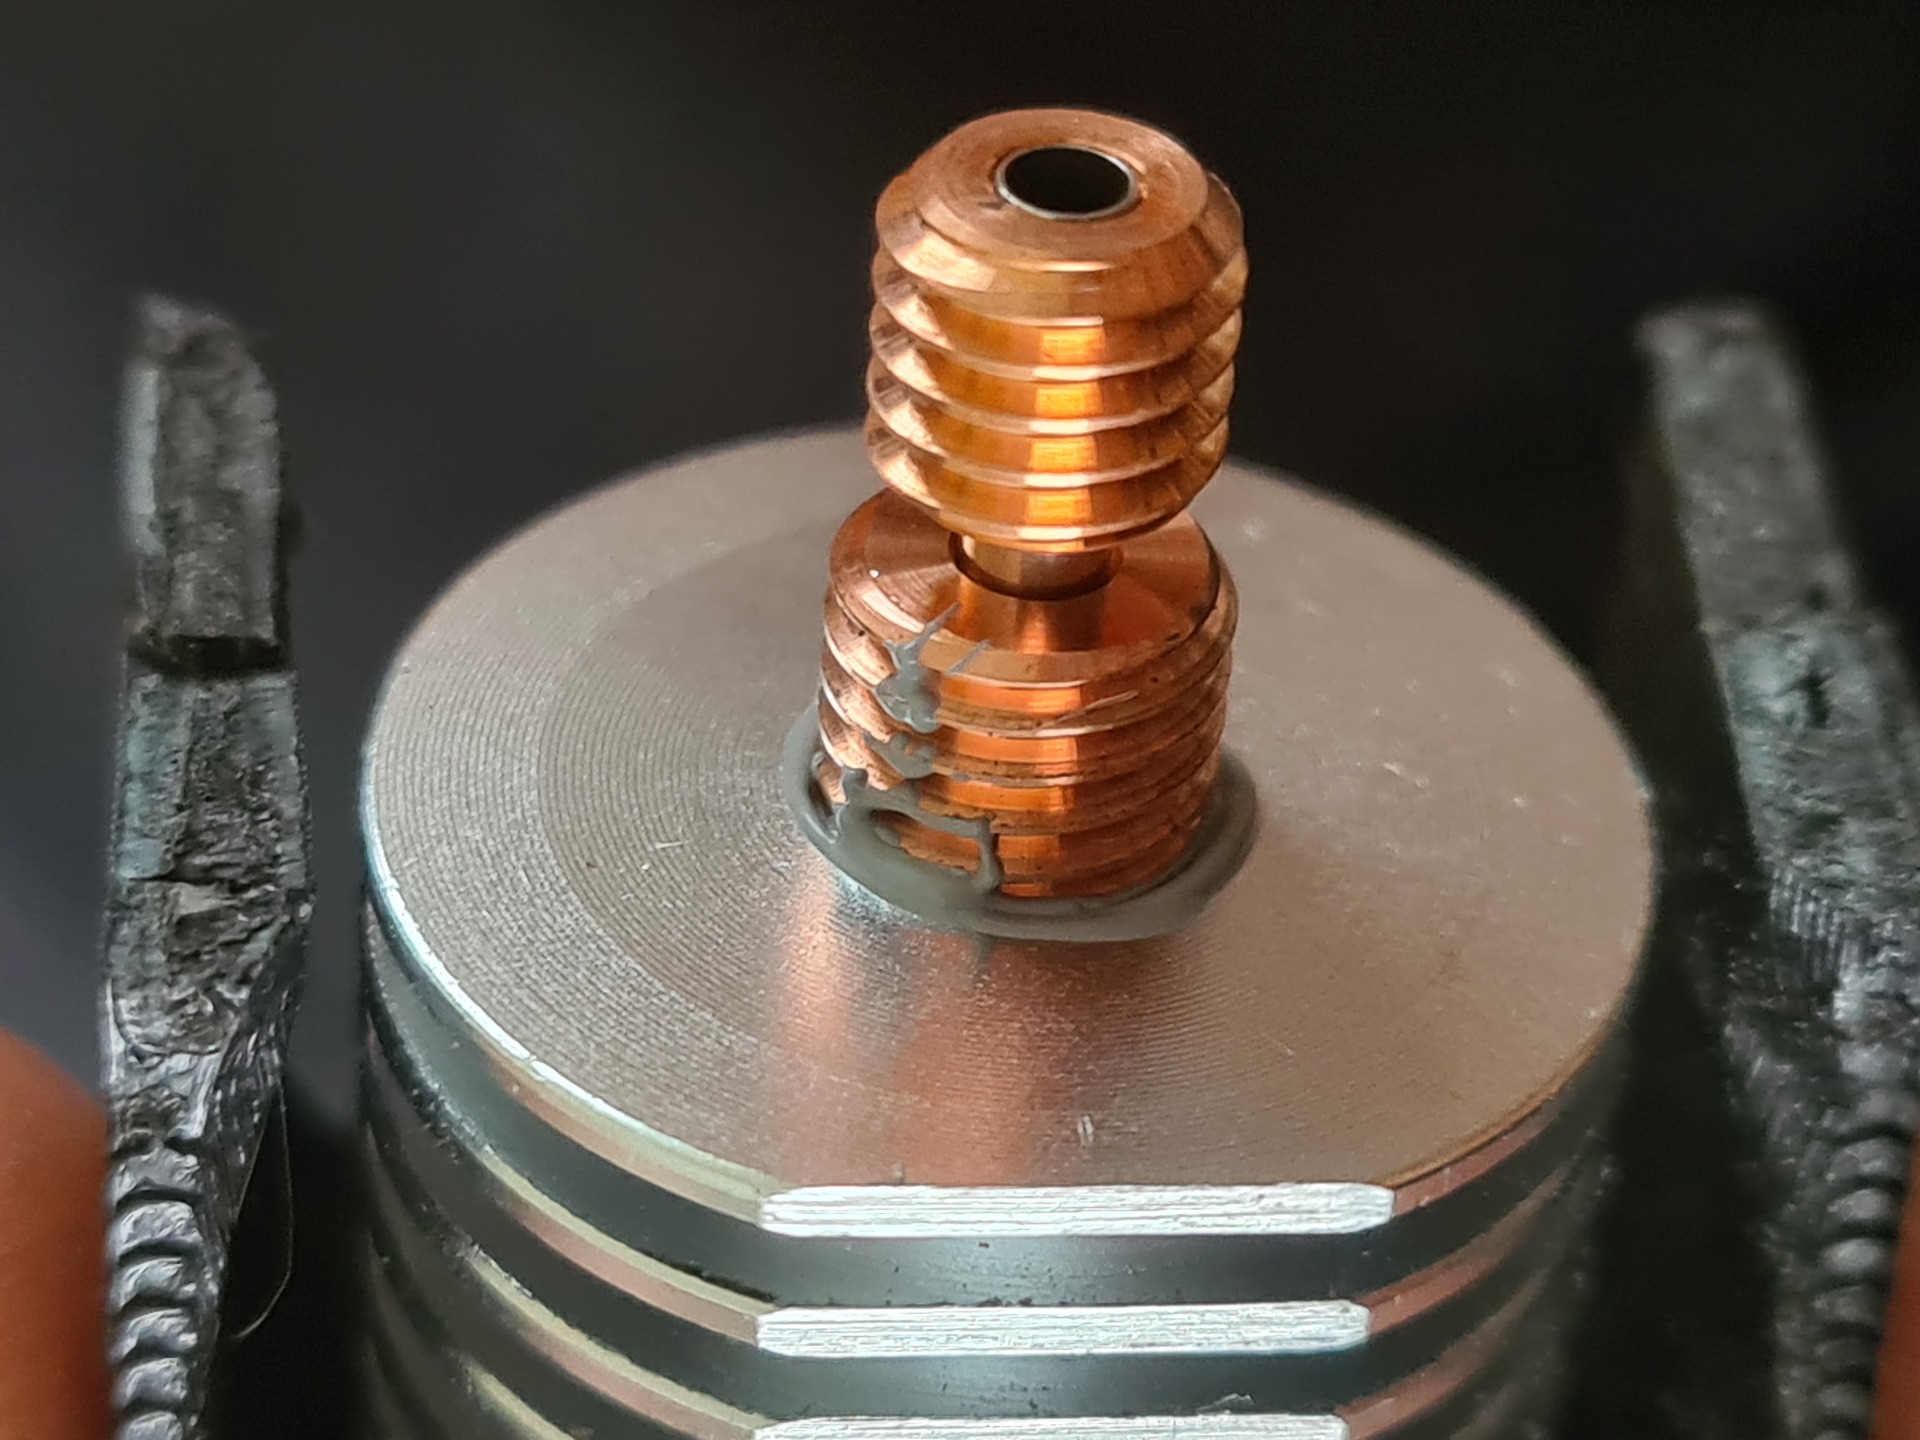
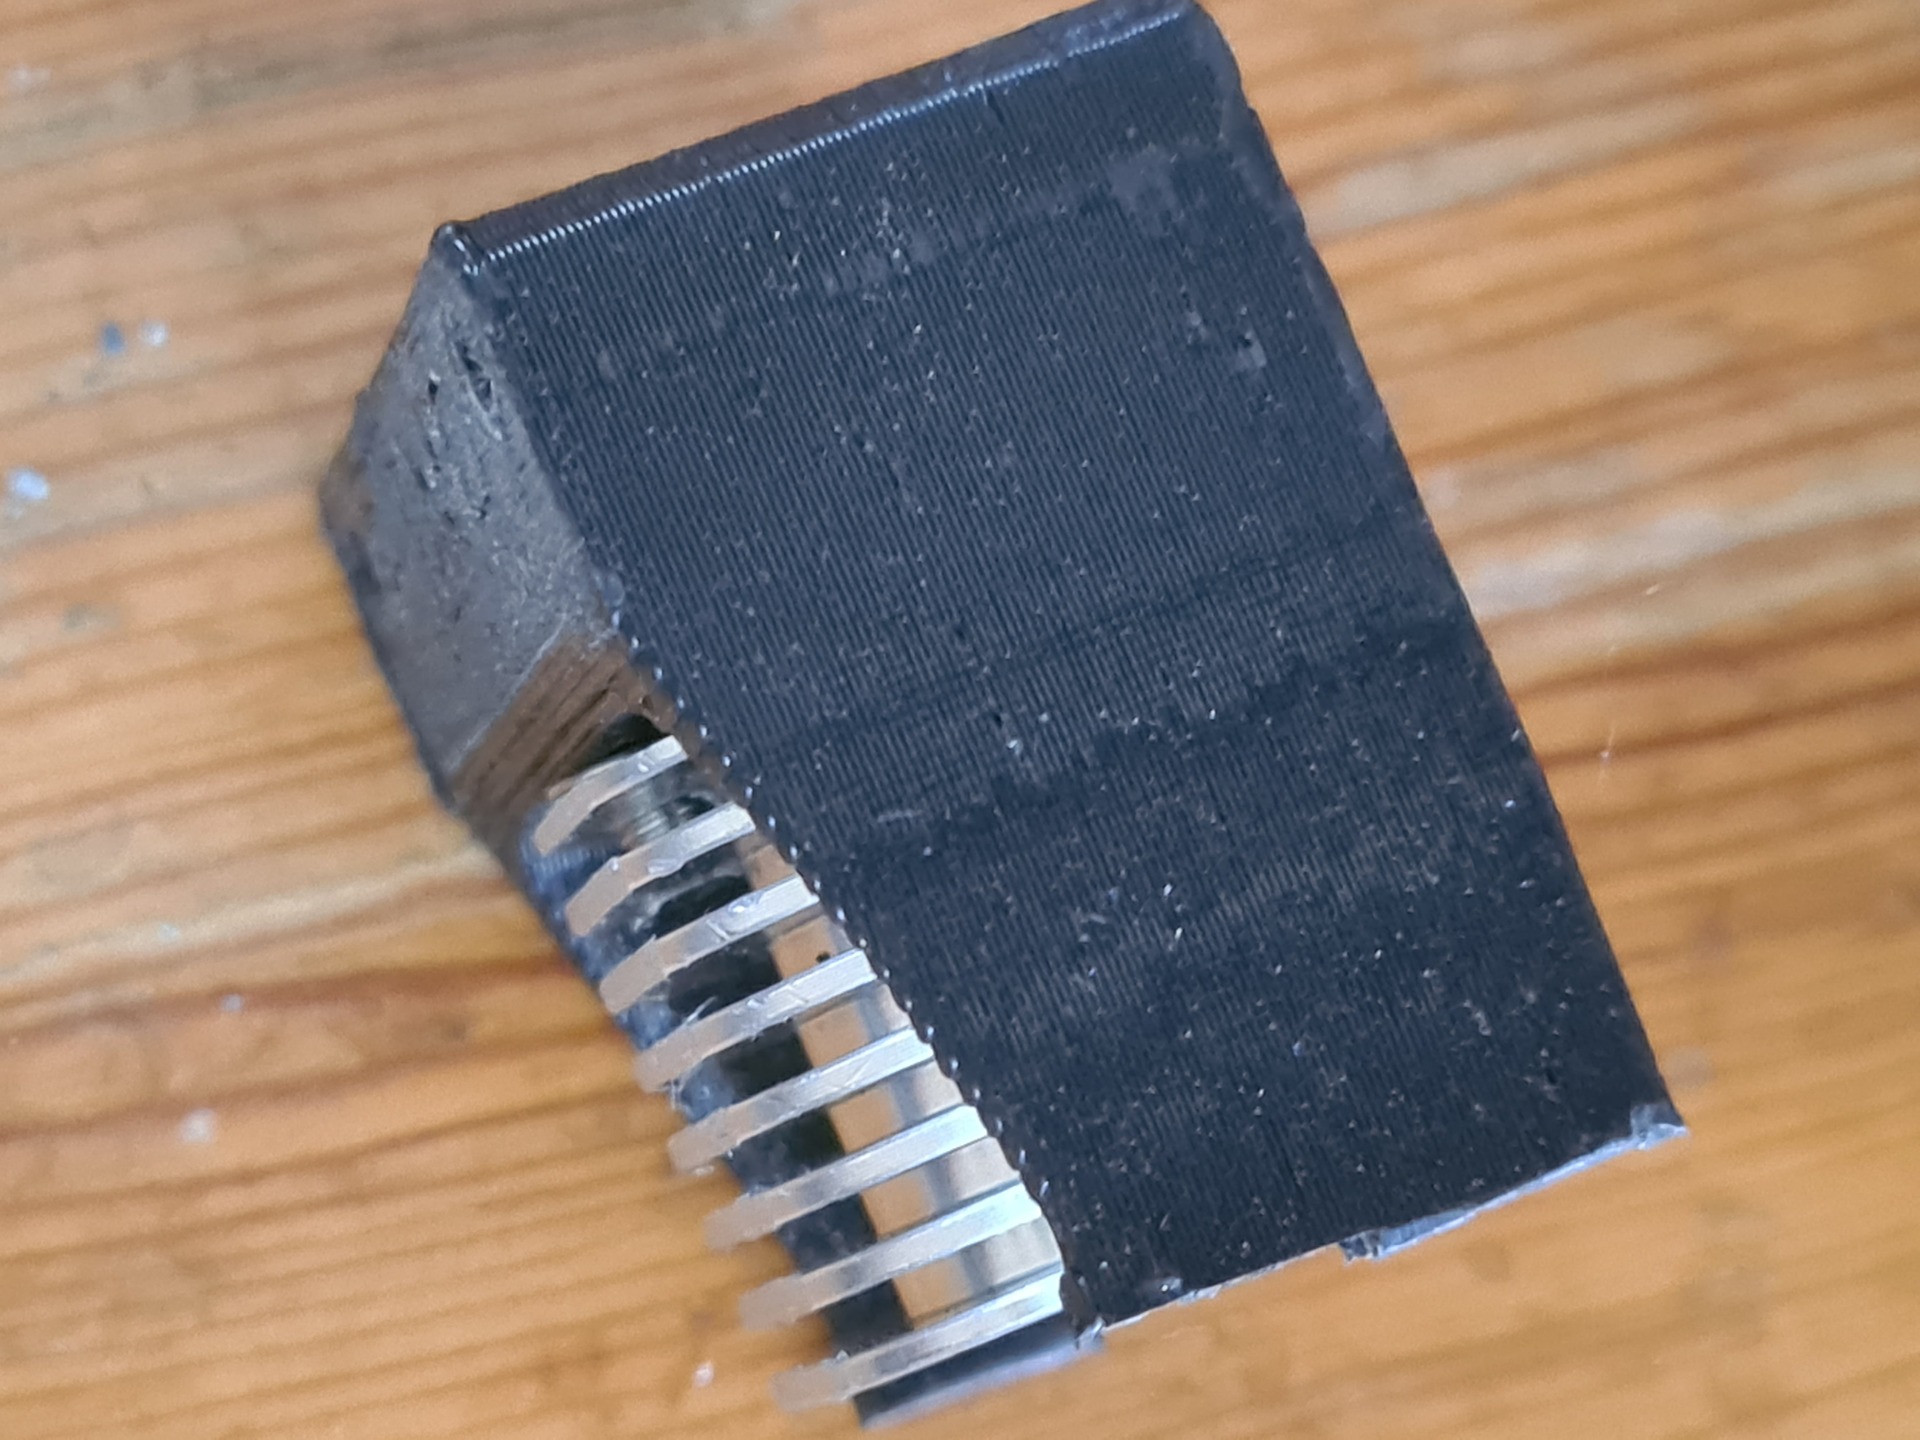
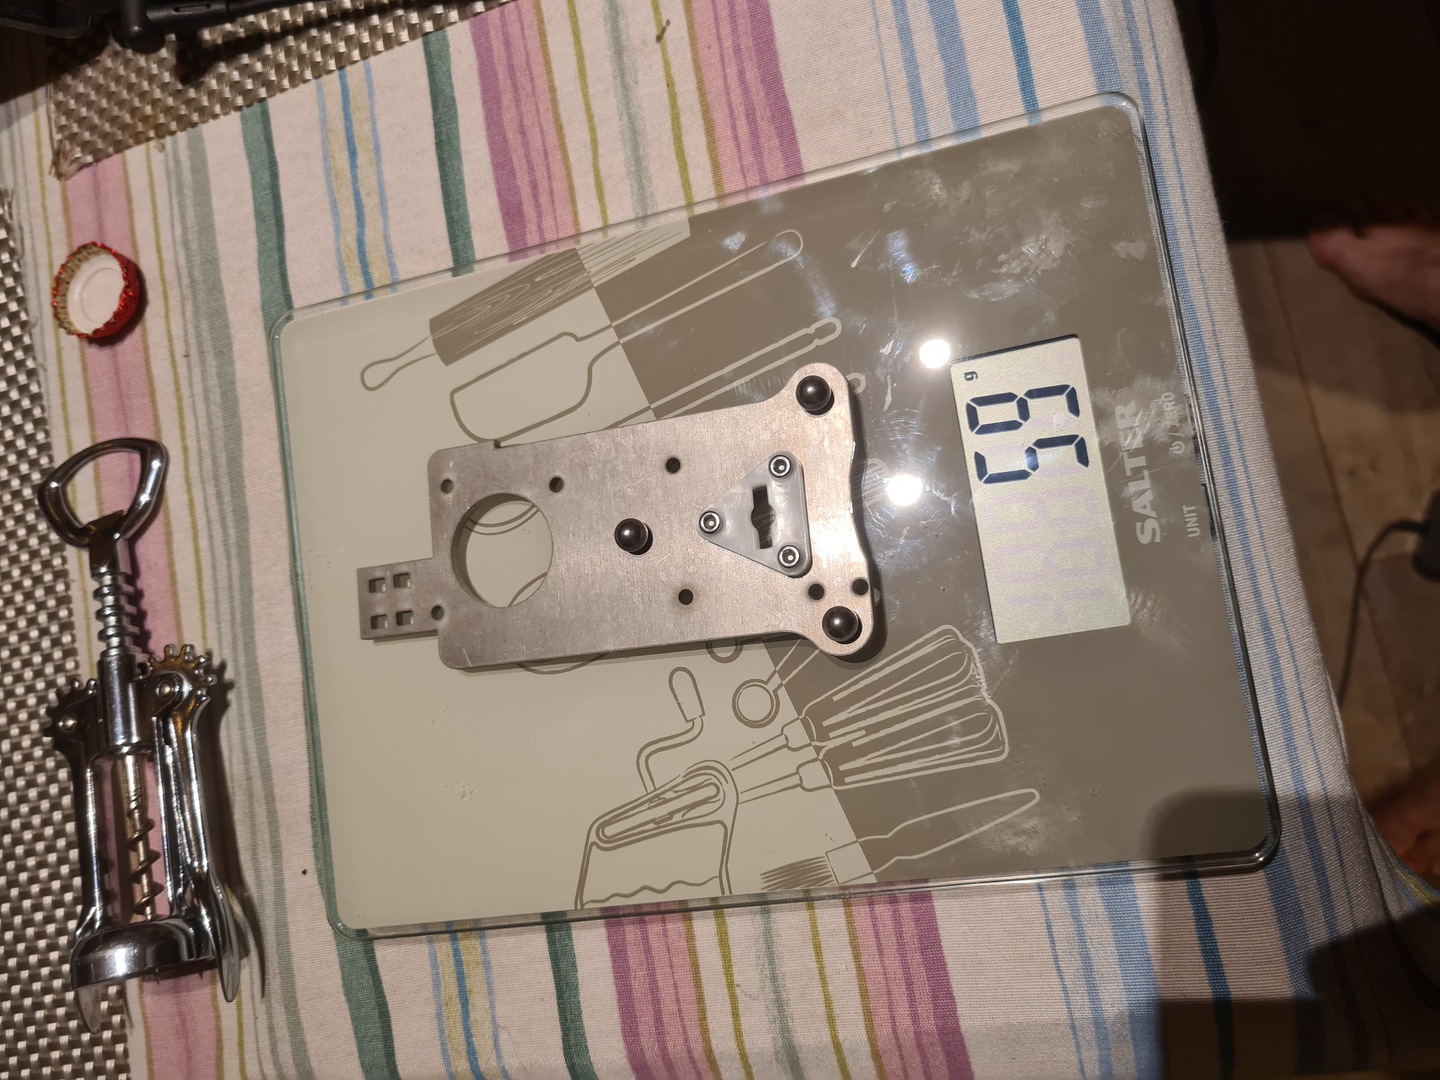
Starting from a regular volcano, with an upgraded bi-metallic heatbreak, I sawed off the upper section closest to the mounting head. Two holes are then drilled and tapped, and one side needs to be sanded down (after tapping to ensure the orientation)

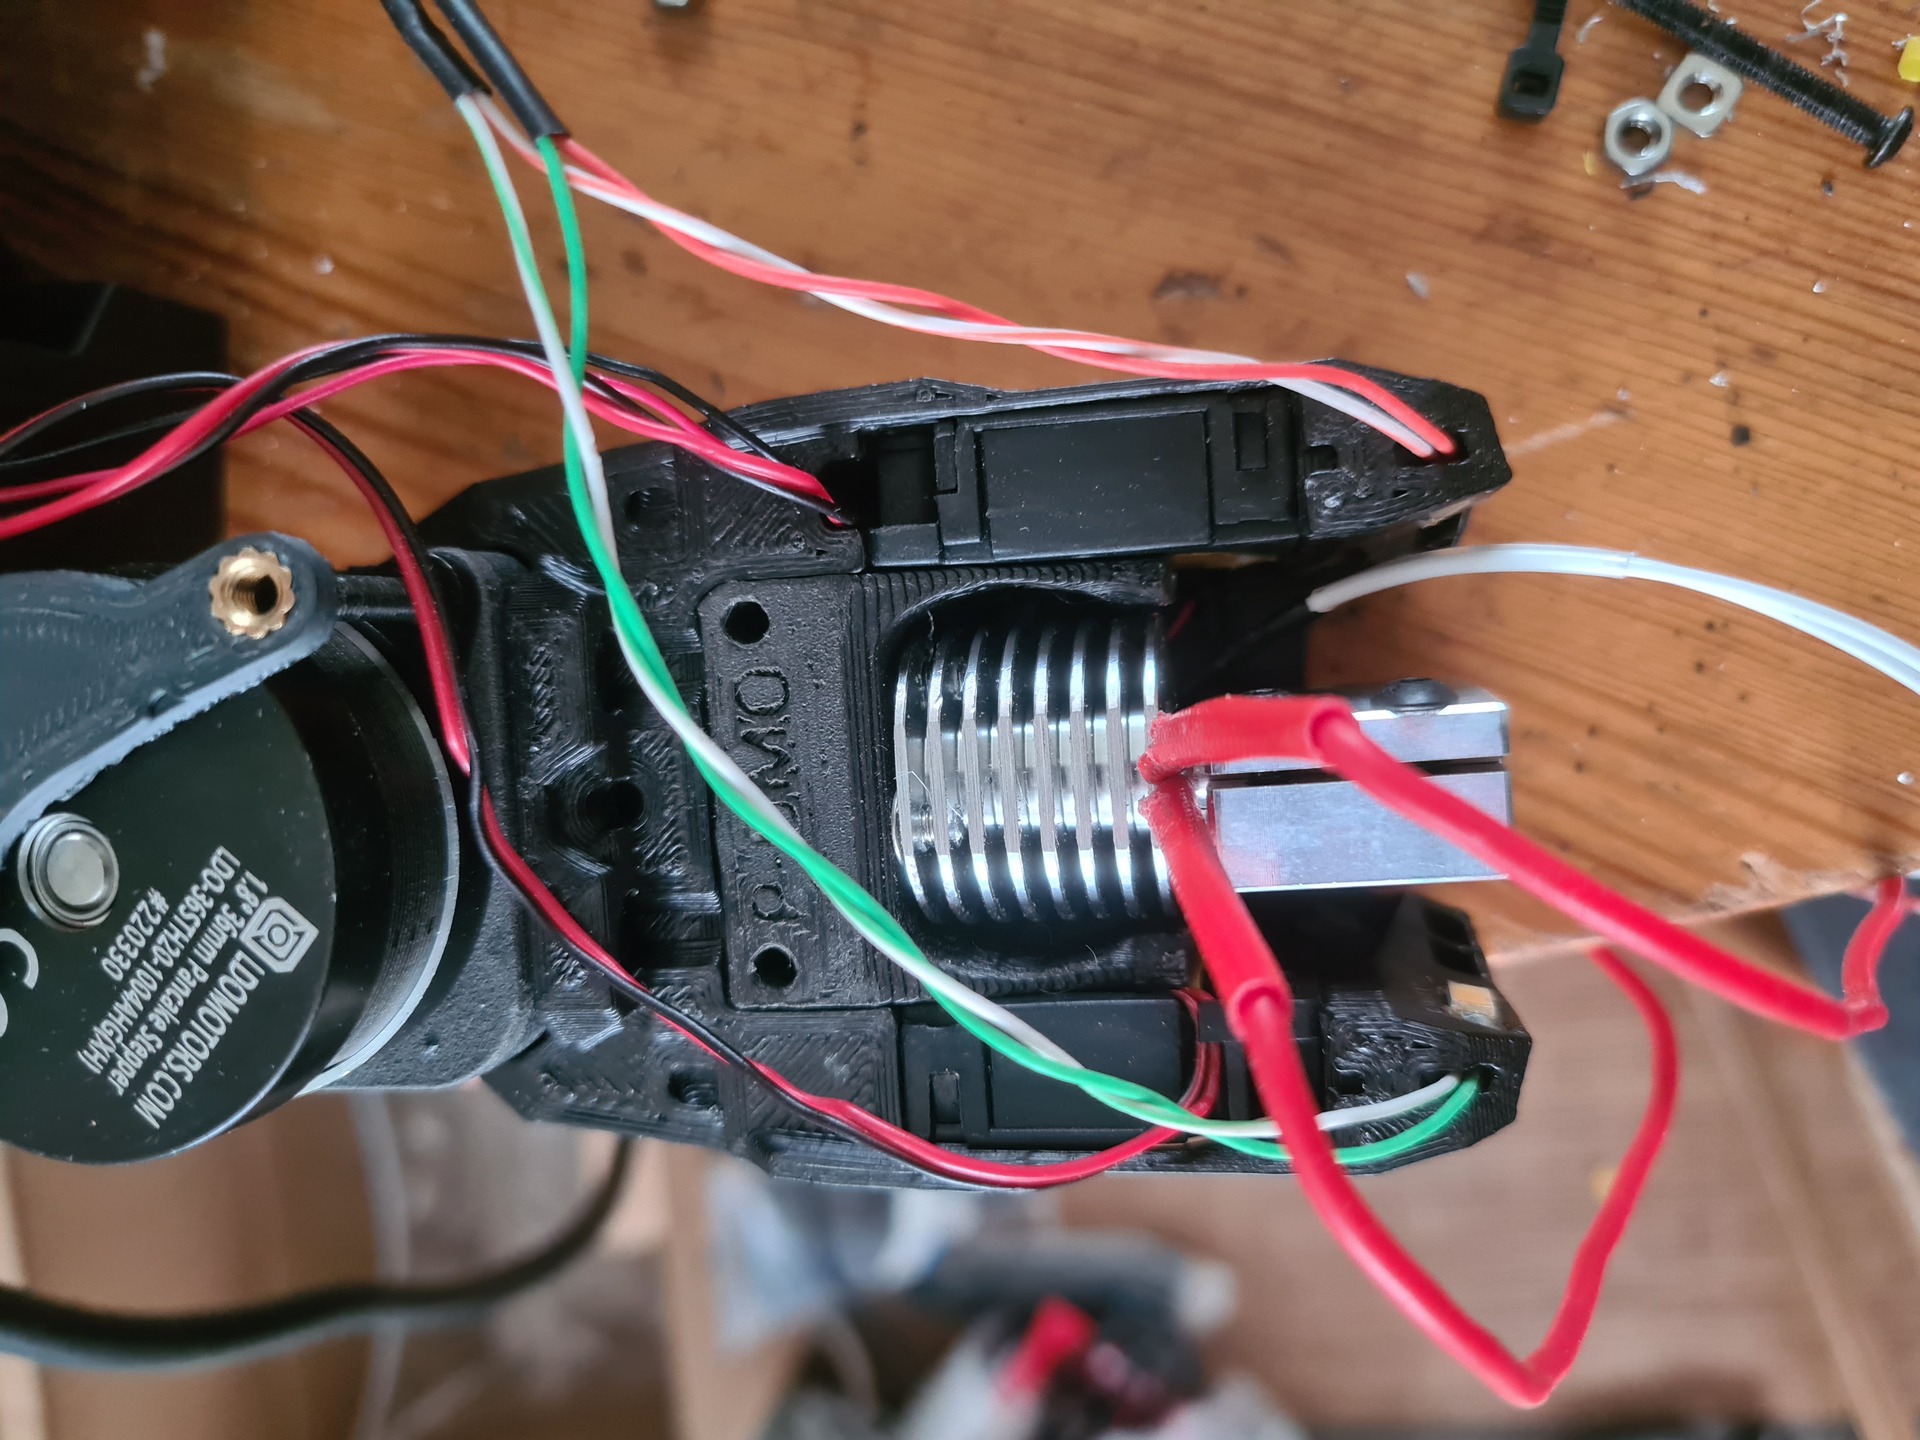
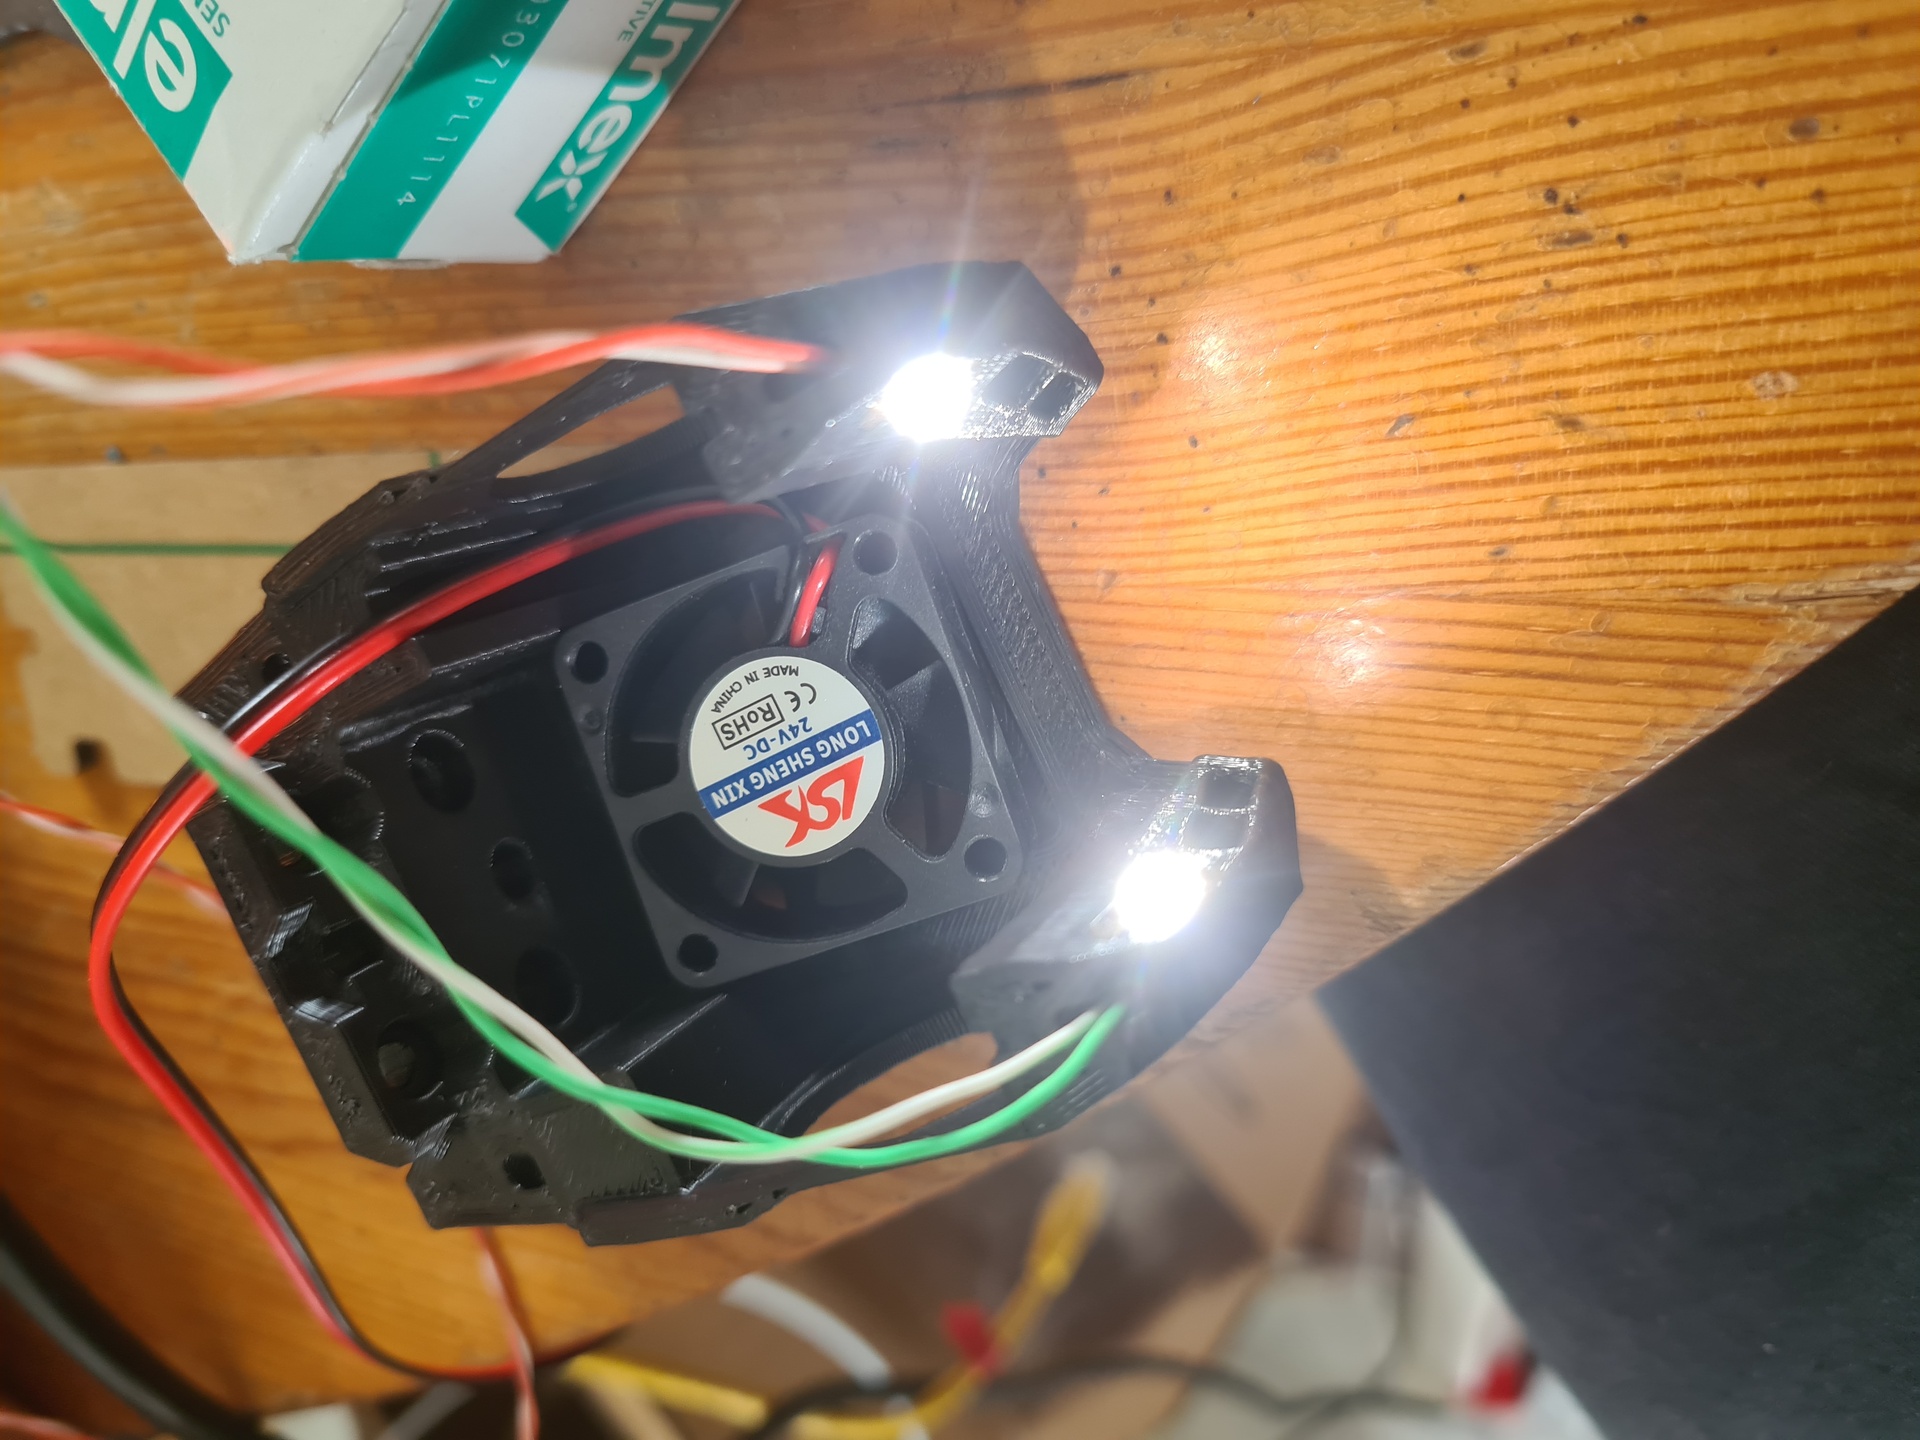
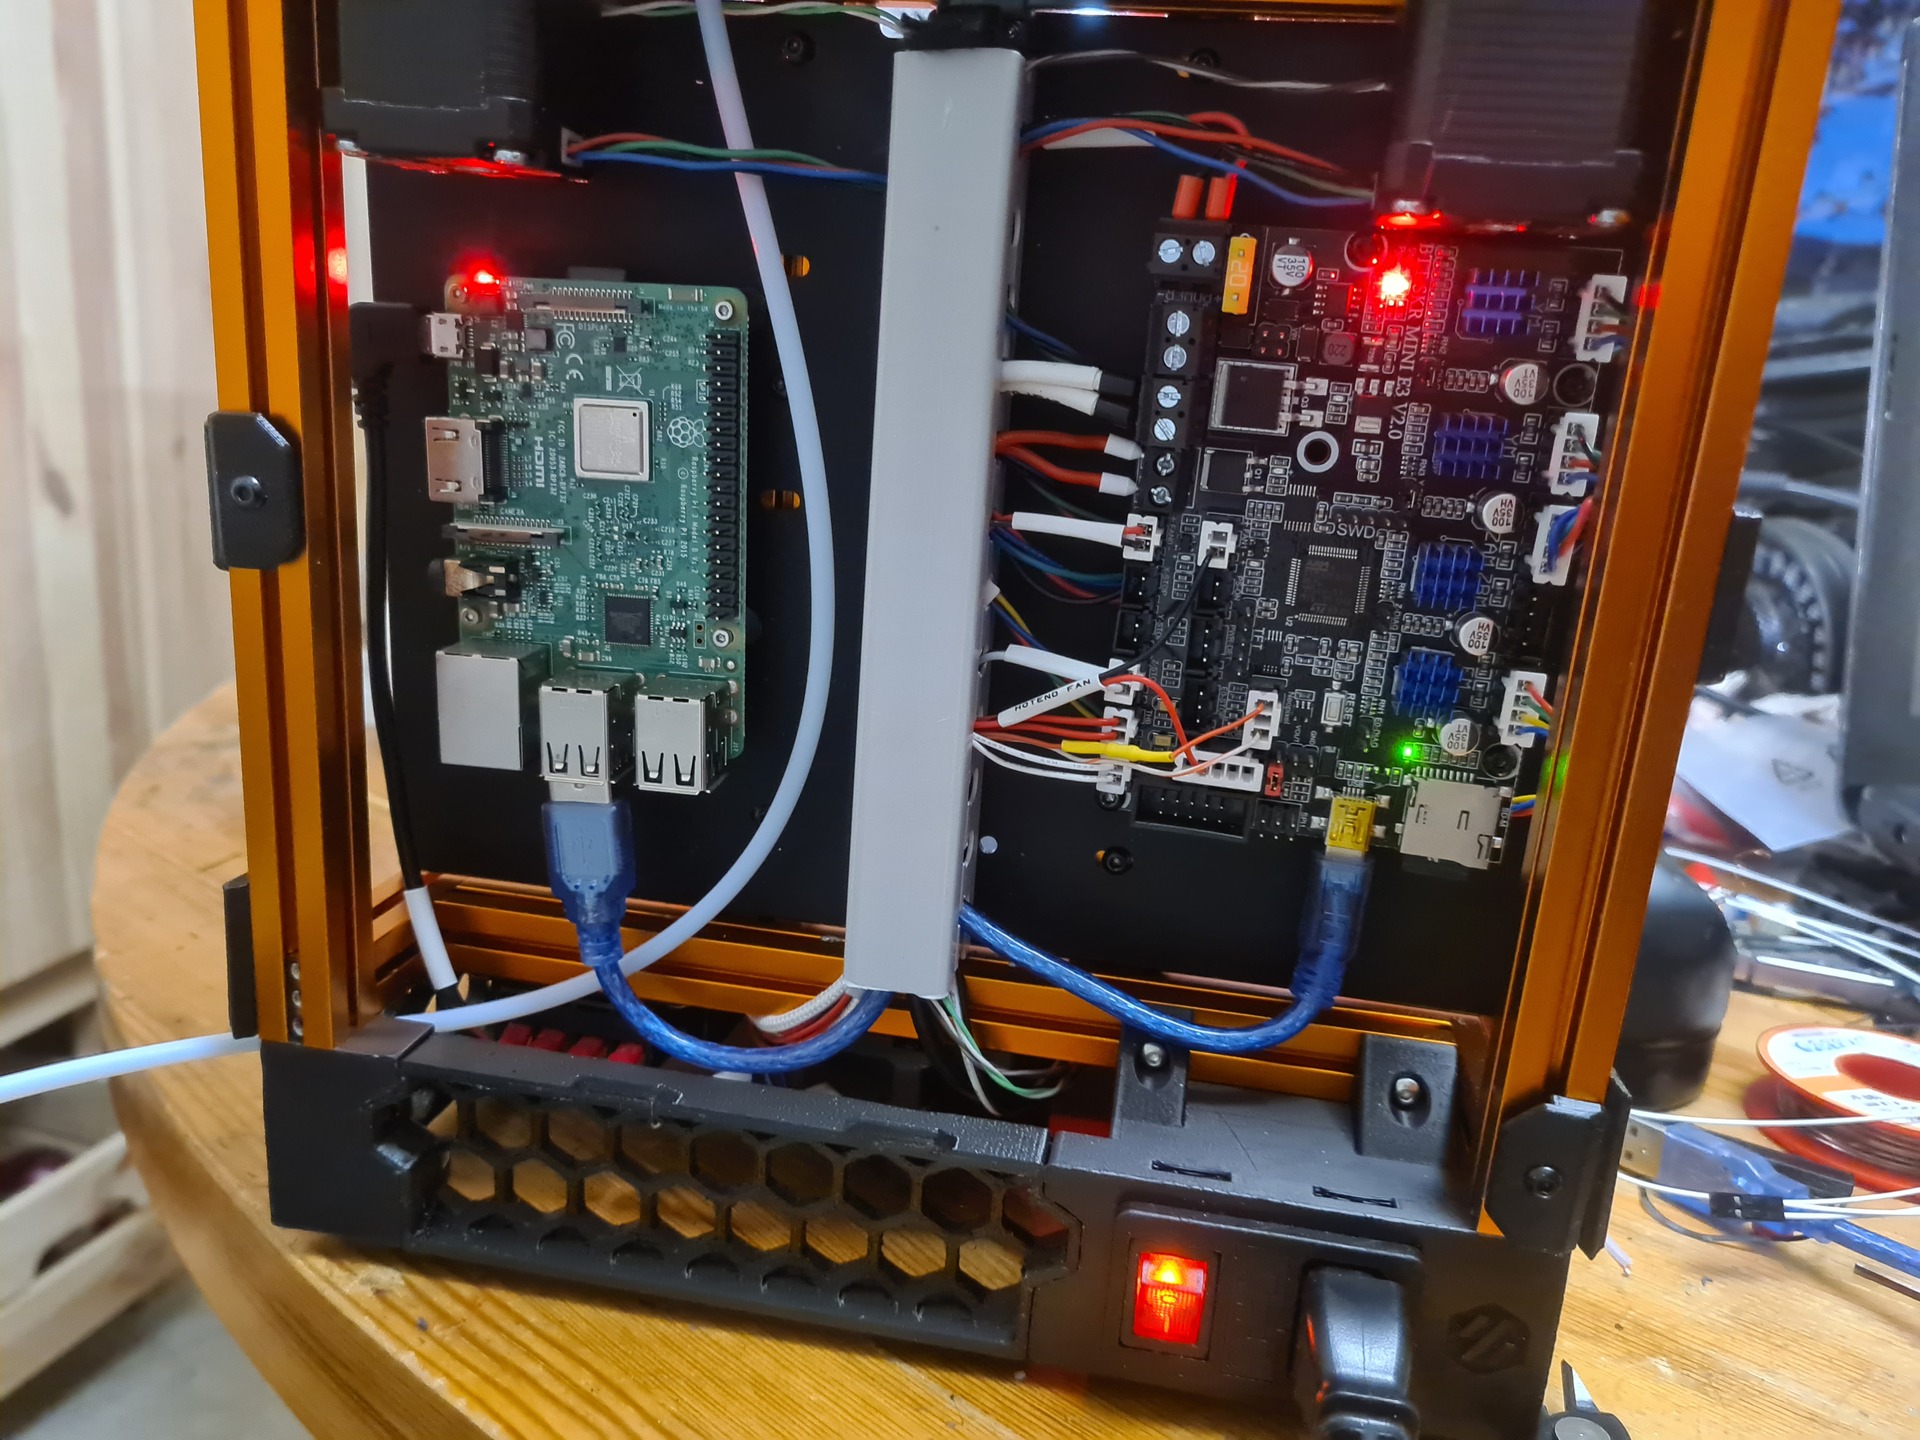
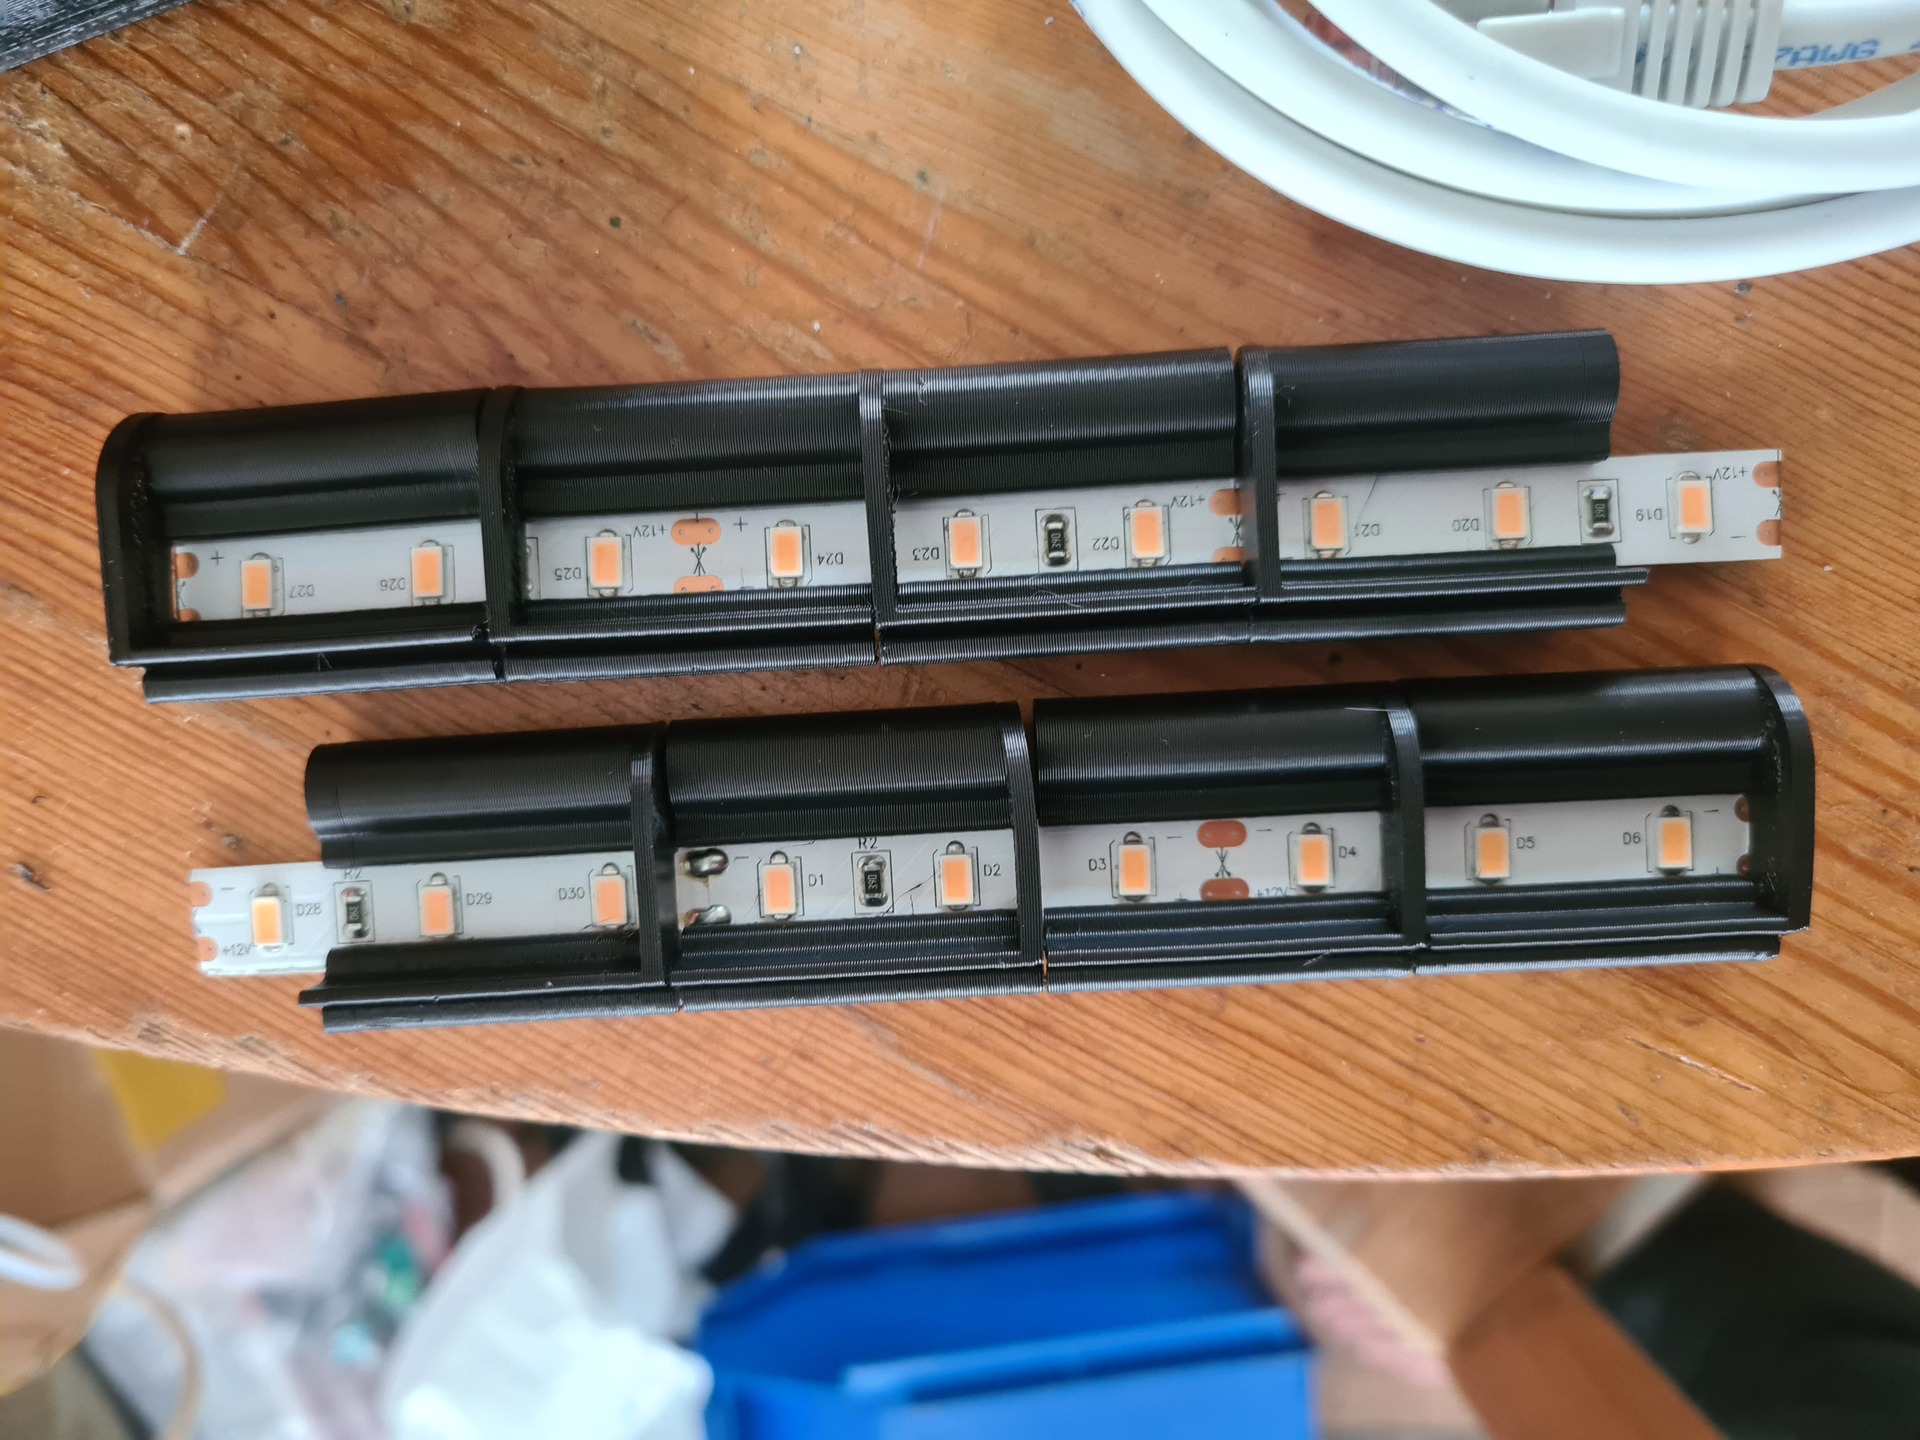
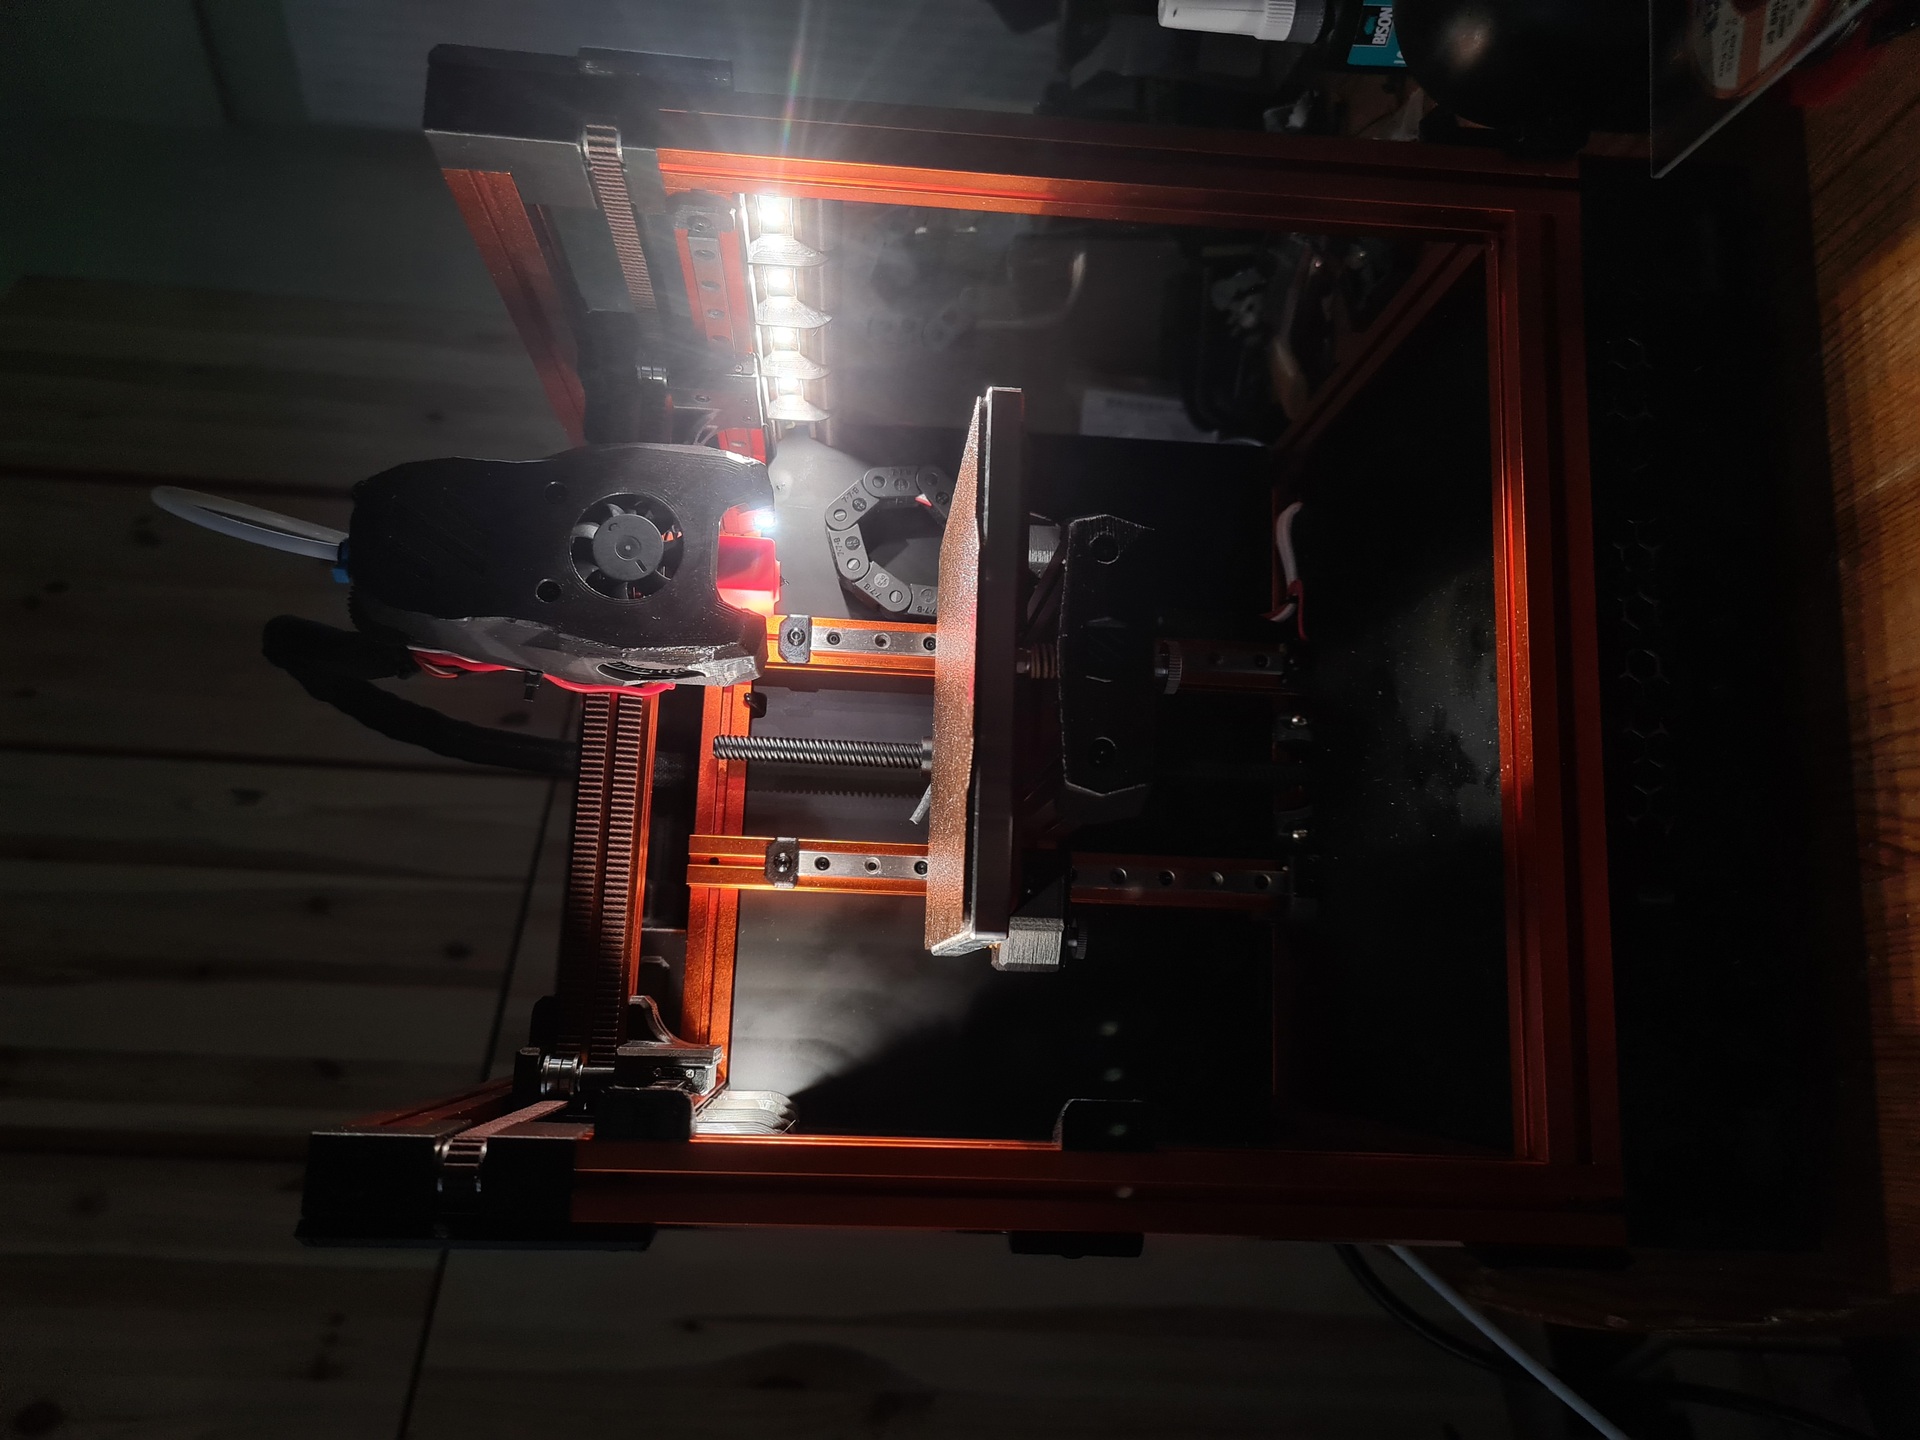
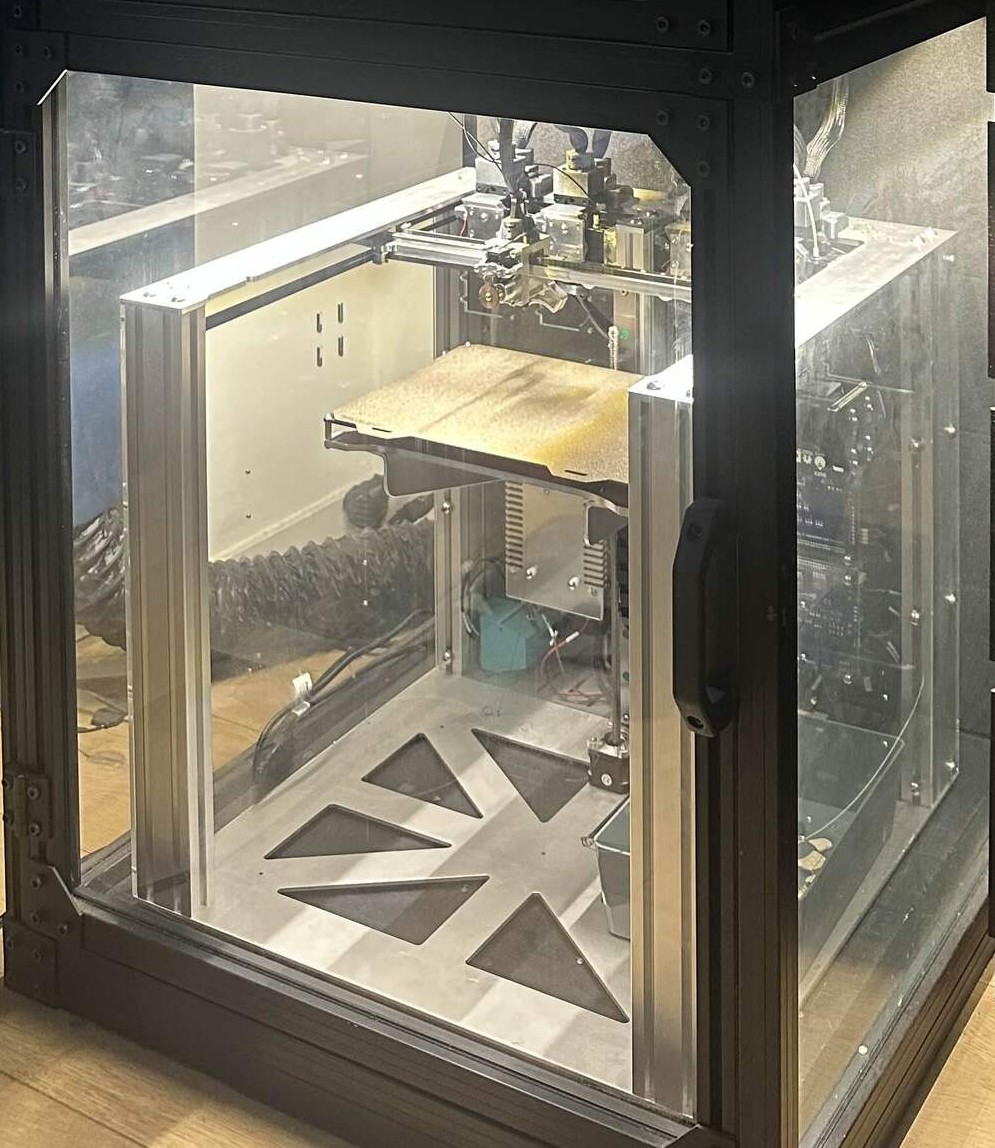
LEDs were added to the head, the electricals were upgraded and a full sized hat was added using 2020 extrusions, as well as a chamber thermostat. Both essential in my opinion as it allows to heatsoak before a print.
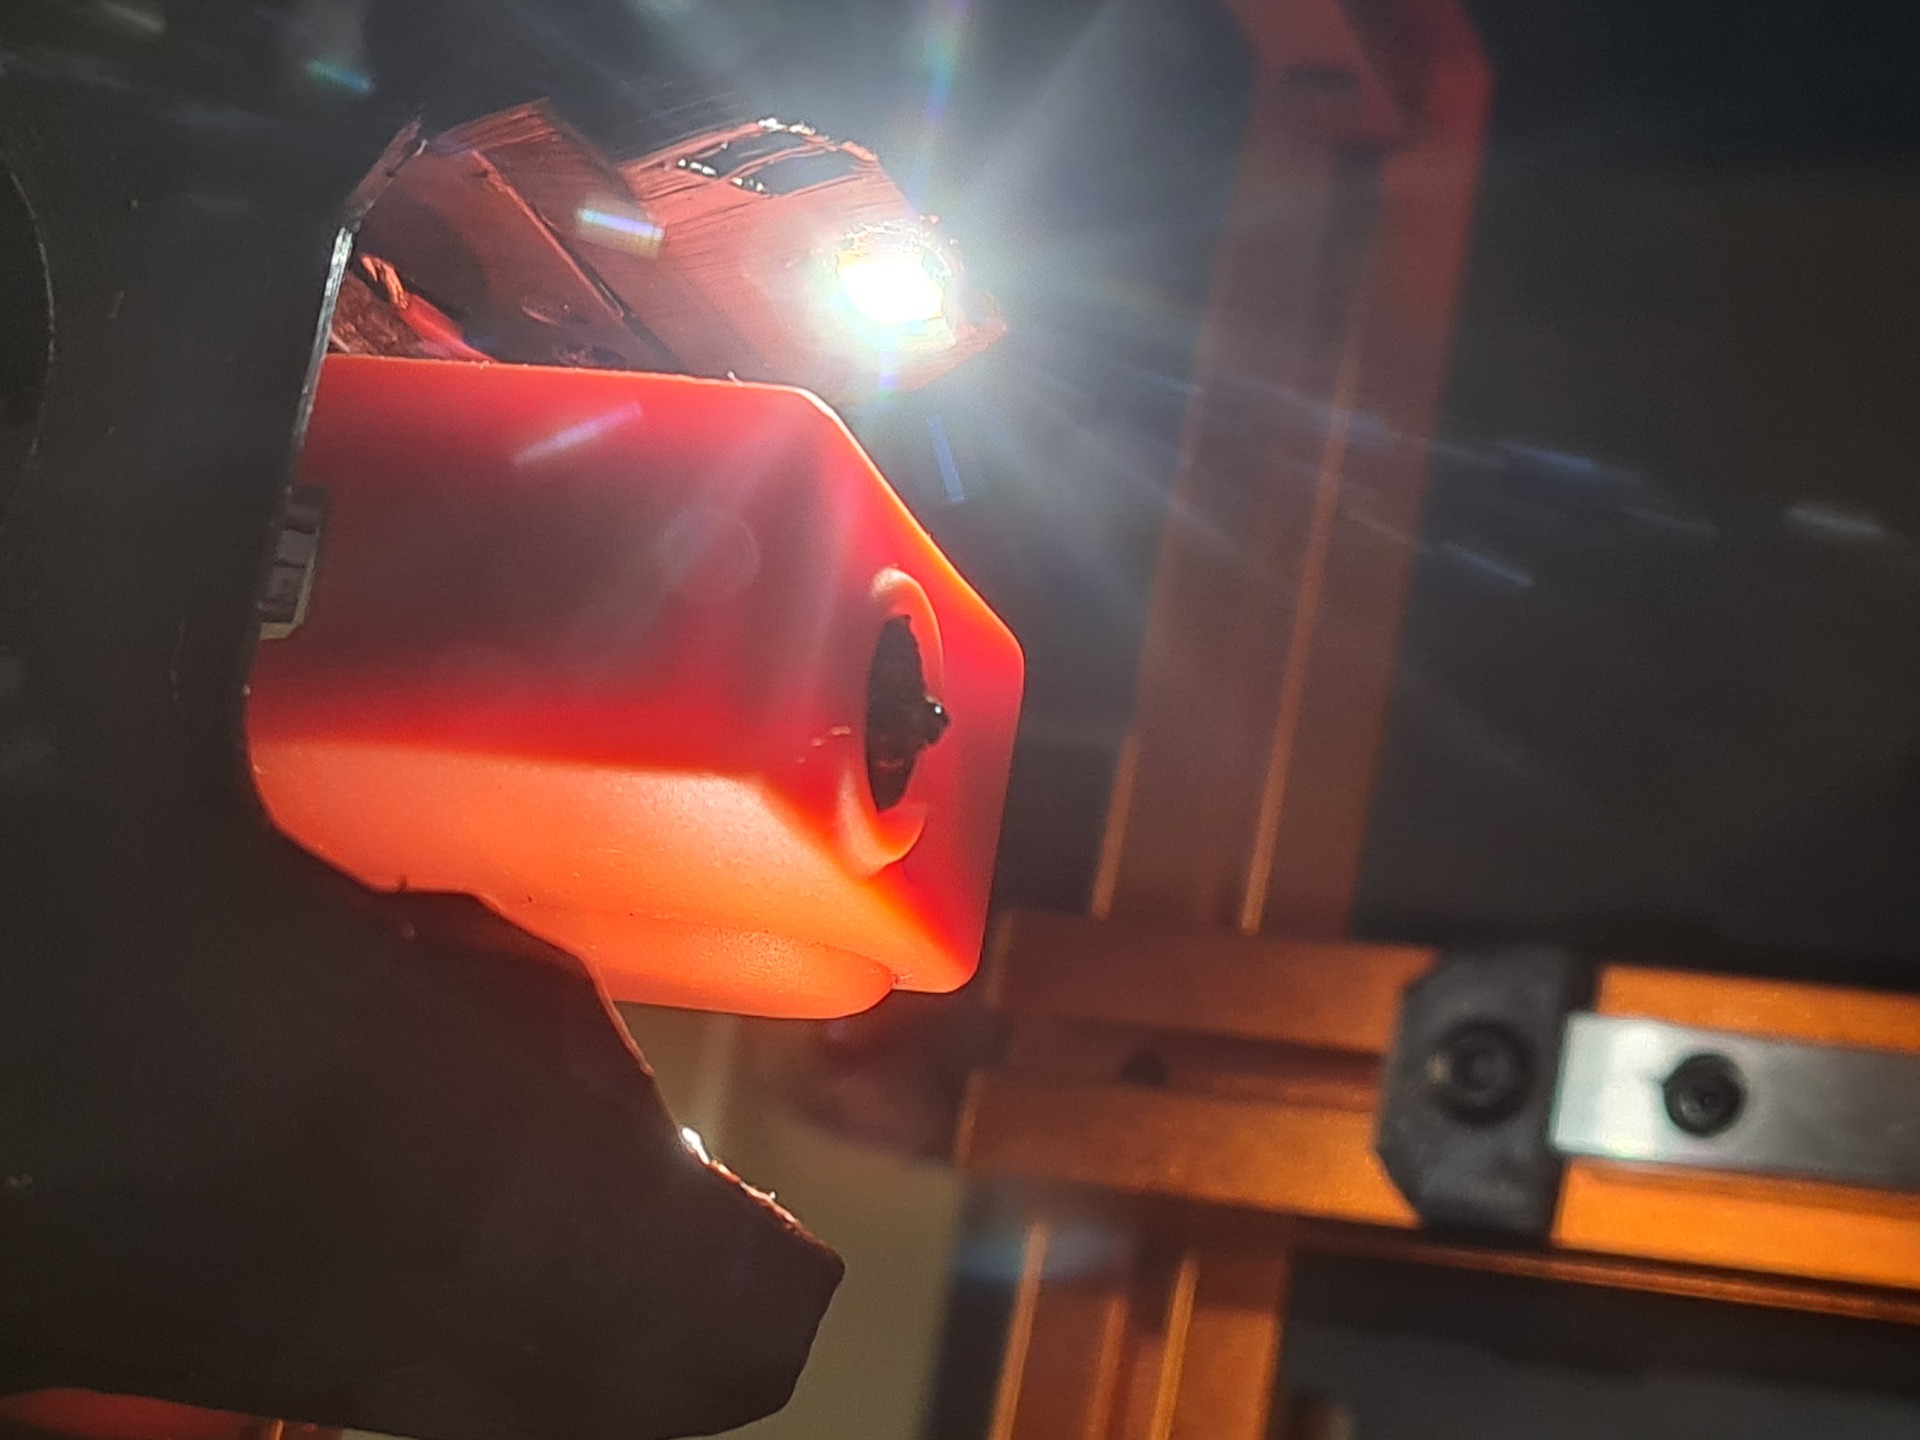
Has some VFA but looks nice and prints well!
Wanting something custom and enjoying the process of design and engineering, as many others have, I wanted to make my own 3D printer. I’ve owned quite a few, and wanted my own Toolchanger after seeing the E3D announcement. I knew nothing of CNCs or machine design, didn’t know how to CAD, and blindly went forward.
I started independently in late 2020, and then found the (at the time) developping Jubilee project. The E3D toolchanger was really the first “commercial” printer of the kind, but unfortunately was half baked and with little information online. The people buying them were not people making online content.
Initial specs for my machine were a print space of 40x40x40cm, with 4-6 tools. The design for manufacturing goal was to use 2020 and 2040 alu extrusions, possibility of enclosing, no 3D cnc parts and minimize 3d printed part use. I did not want to go the voron/usual 3D printer route of tons of extrusions, and really liked the idea of the E3D design of keeping everything on one thick flat plane thanks to the alu, but instead of pursuing this fully, I tried to do a halfway house using waterjet cut aluminium plates. In retrospect, this was not thought through enough, nor did I allocate the required budget to get it done properly.
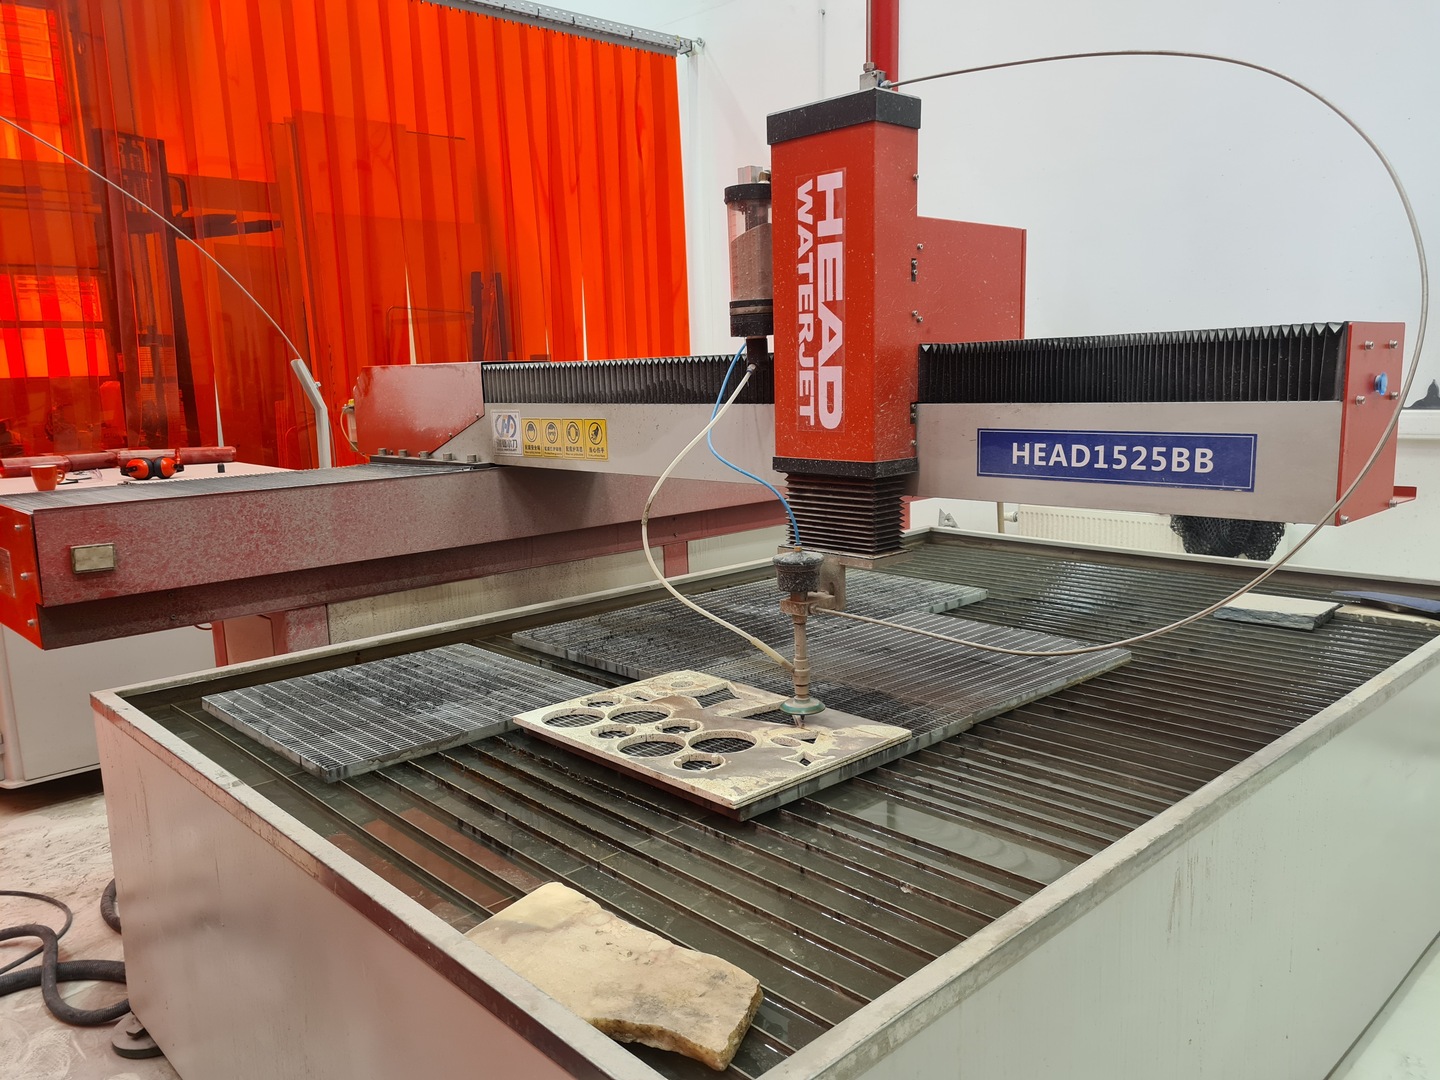
The machine design was driven by the goal of using waterjet cut aluminium plates, focusing on accurate CoreXY belt alignment, and regular hardware.
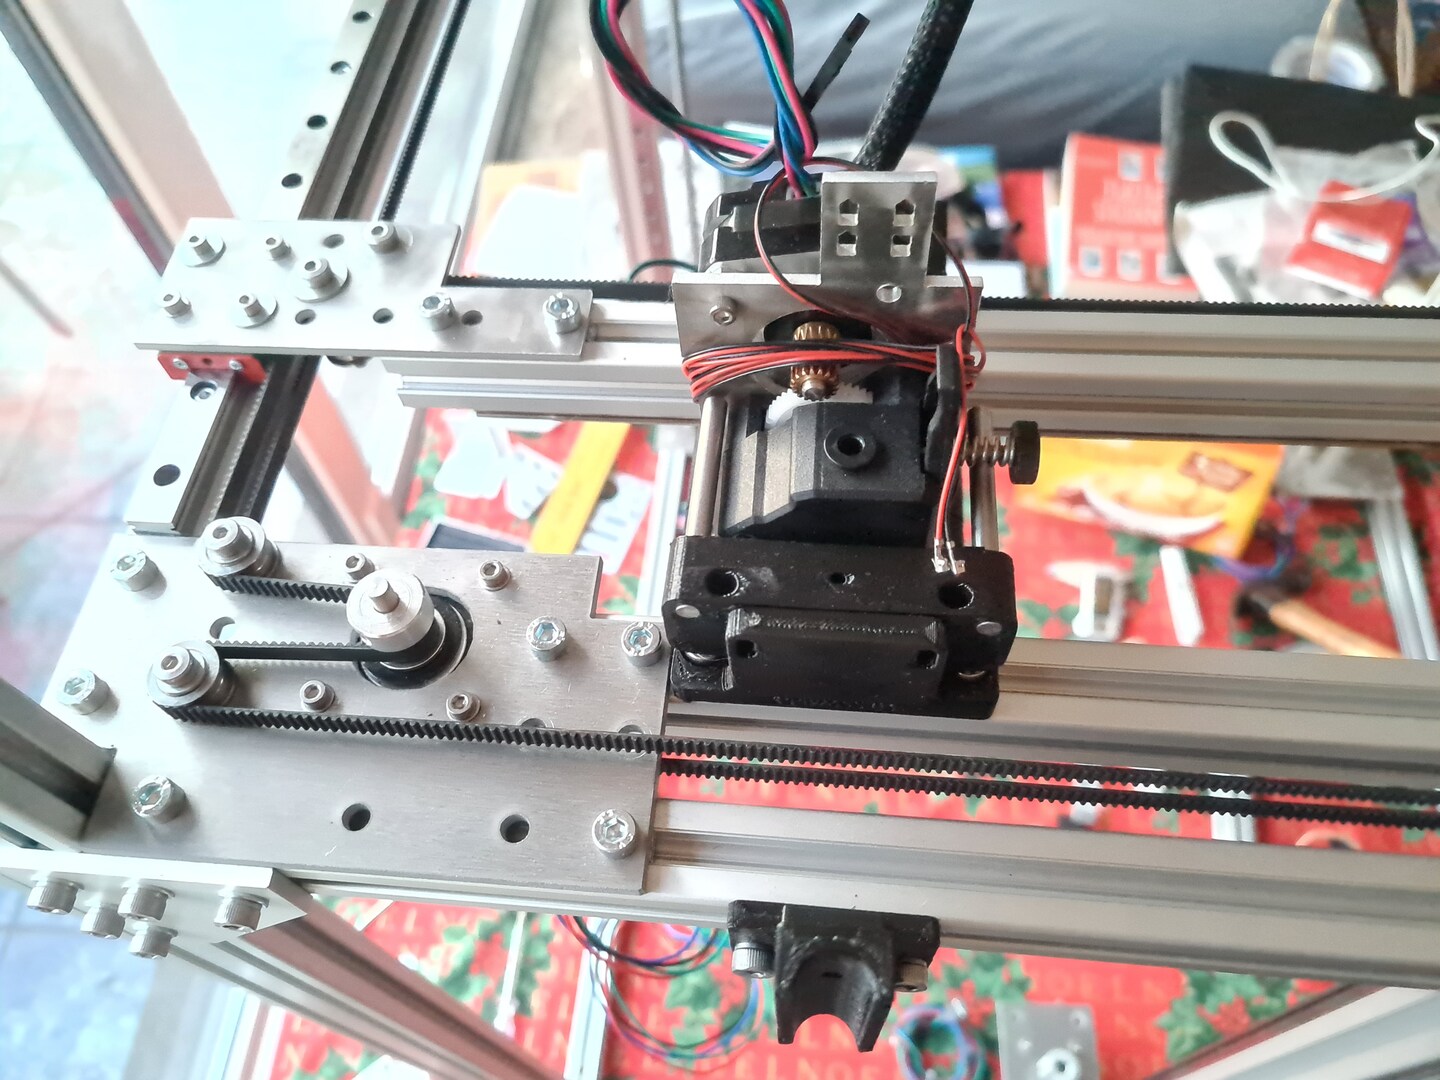
I unfortunately cheaped out, didn’t use thick enough stock, nor did I cut the whole flat plane and instead tried to use the plates as connectors. Bad idea, everything should have been one plate, and the bed could have come out of that same piece! I also learned a lot about machine design by repeatedly buying cheap or the wrong parts. Did you know these should have a metal core if under constant tension? And that there are recommended ways of clamping to avoid relying on the metal to rubber link to maintain tension? They’re also cut from a drum, so are naturally not perfectly aligned! You need particular spacing/tollerance, and tight idlers destroy belts.
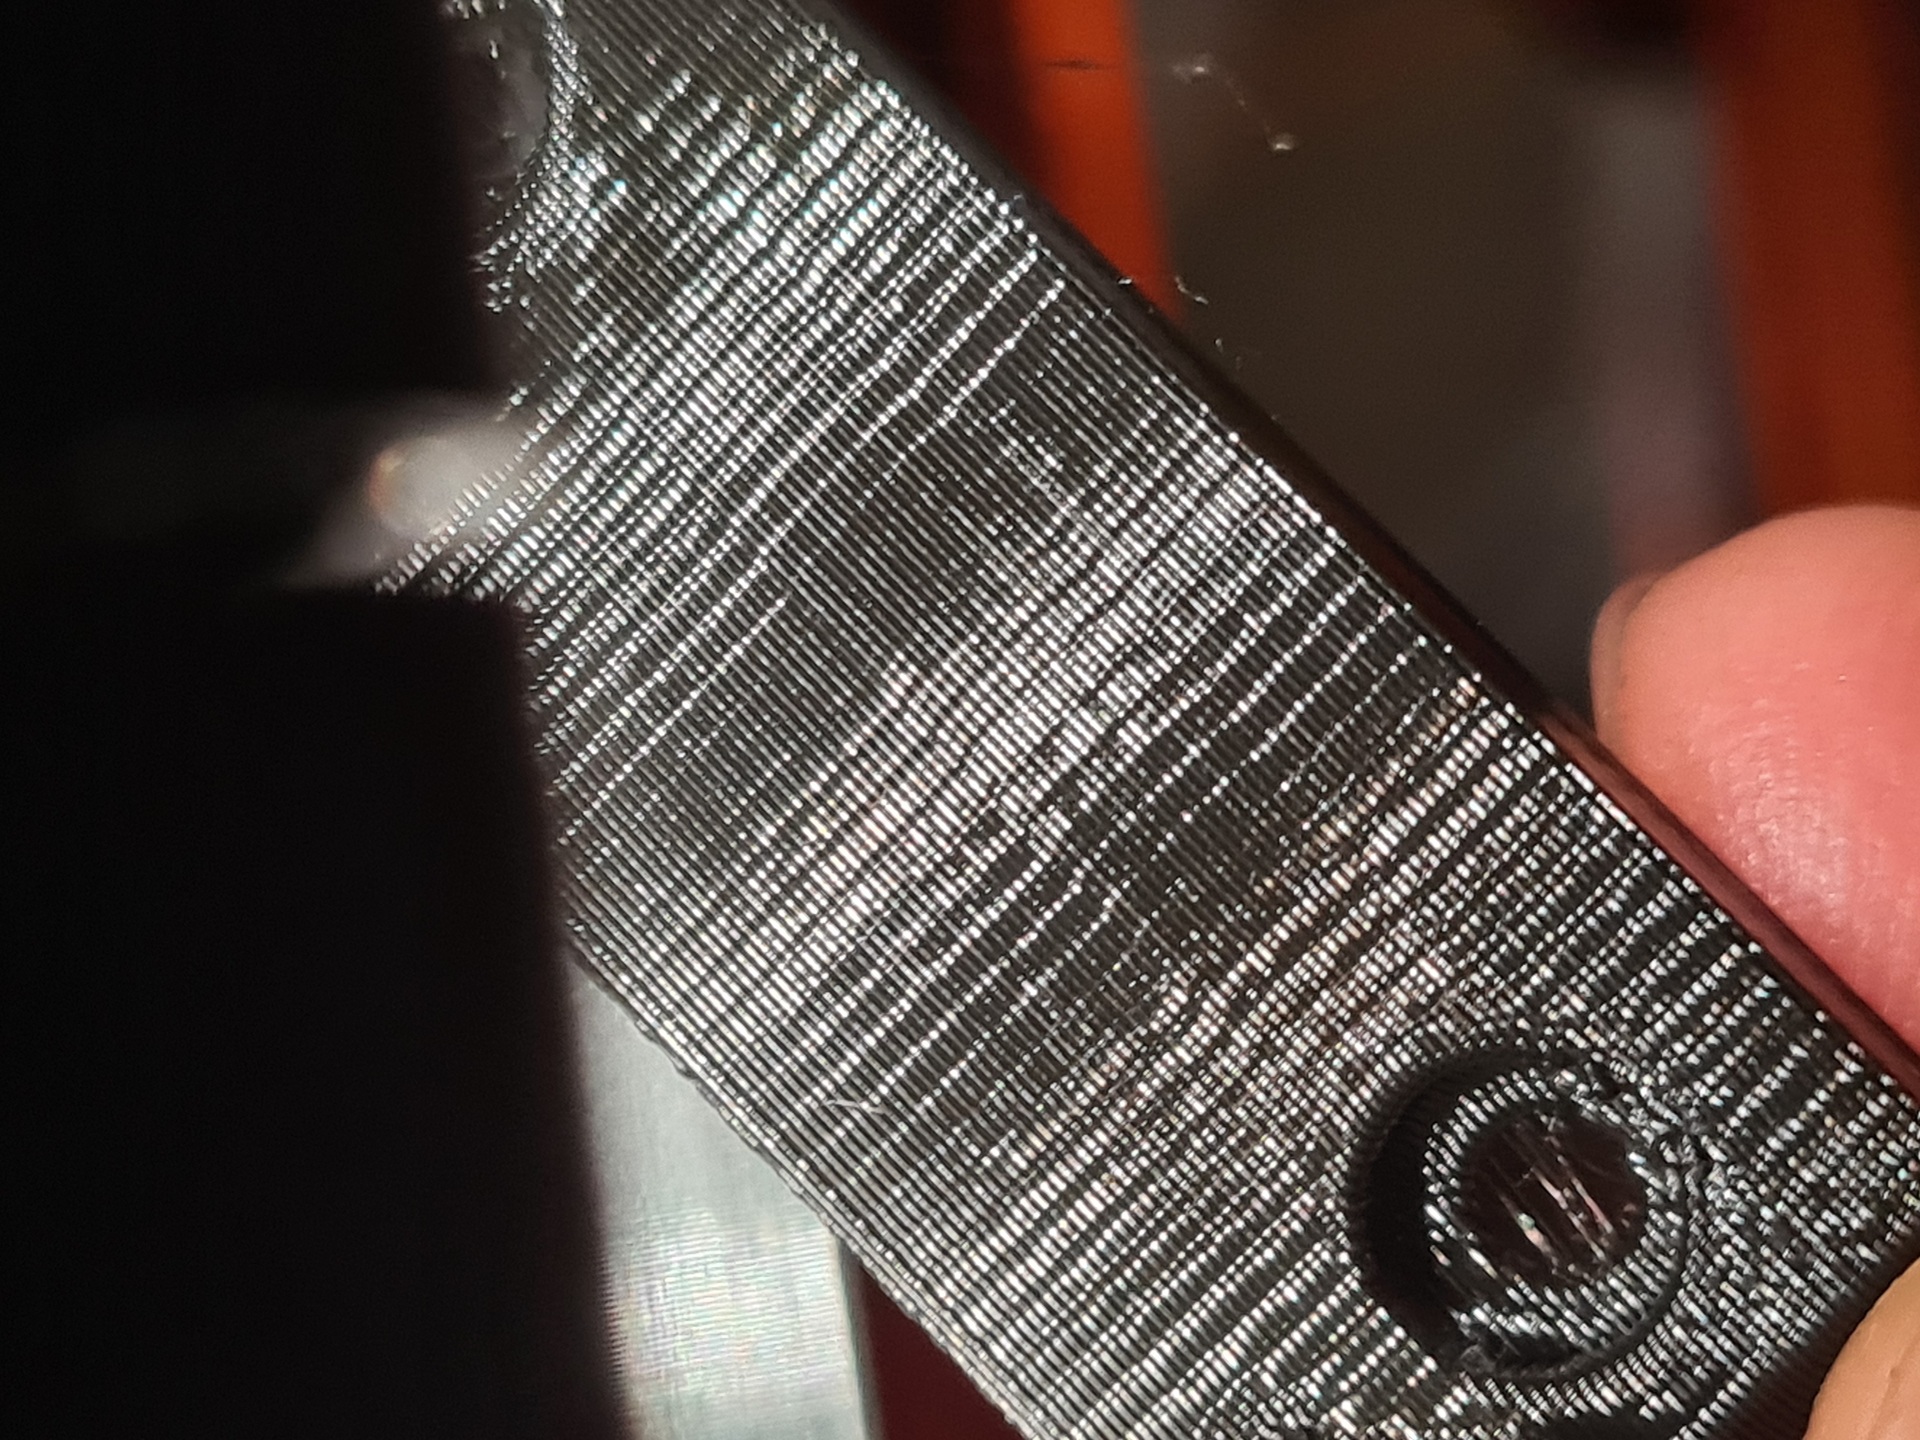
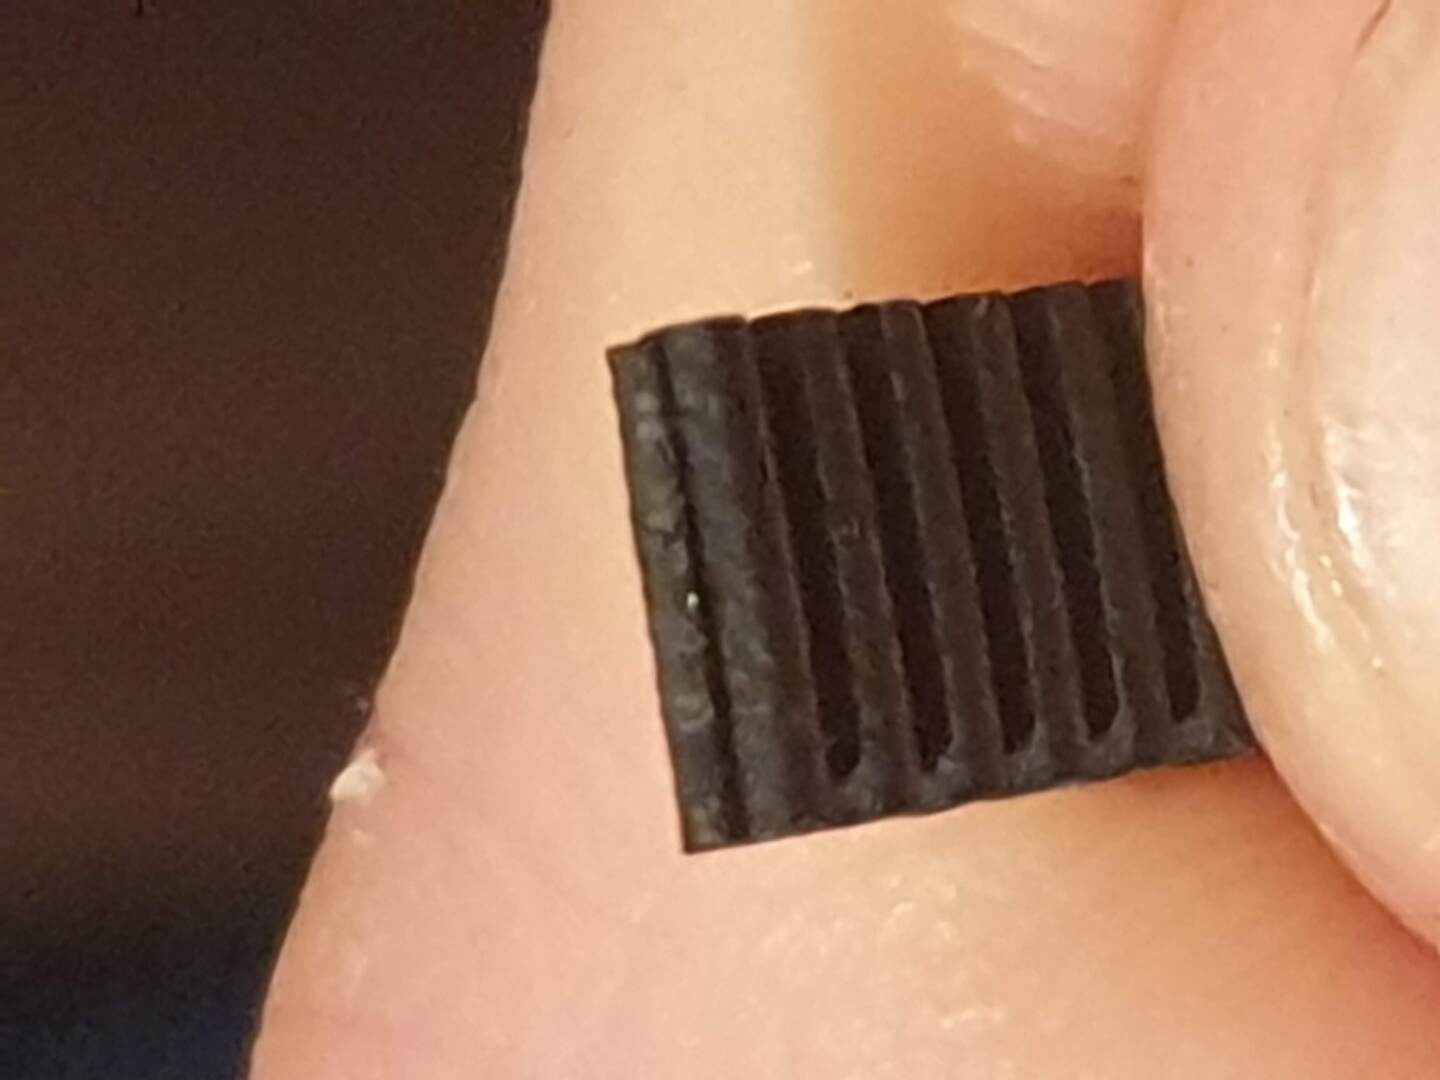
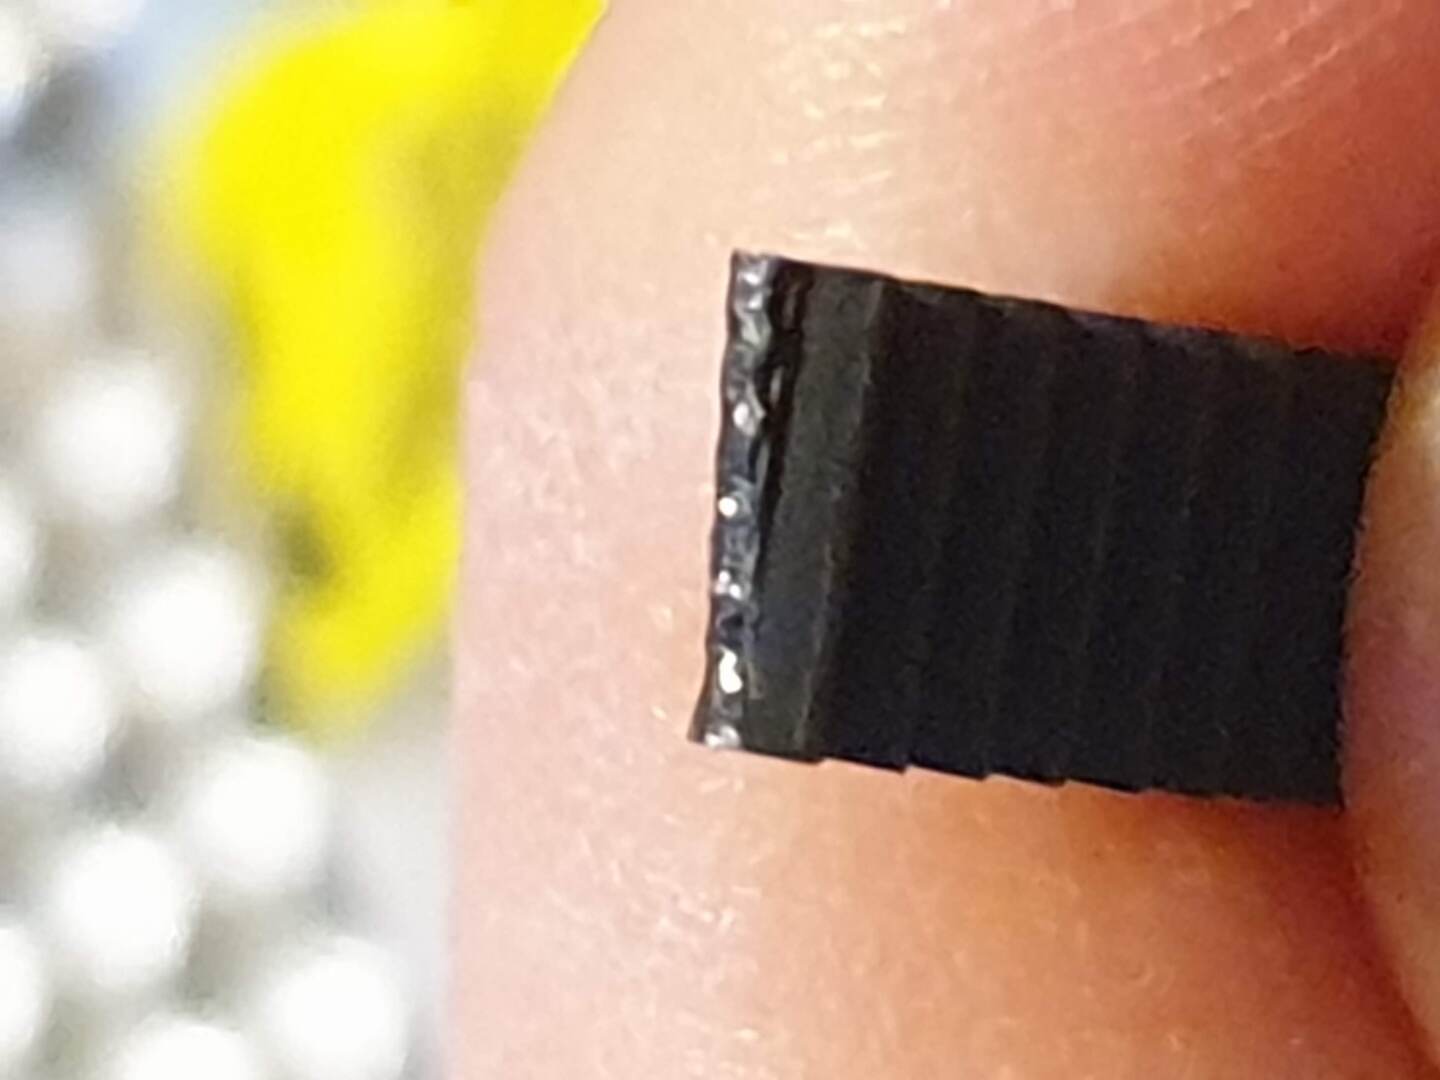
Belts are also known to have different vibrations based on size, and sometimes smaller can be better! Example of a bad vs a good belt, note the core:
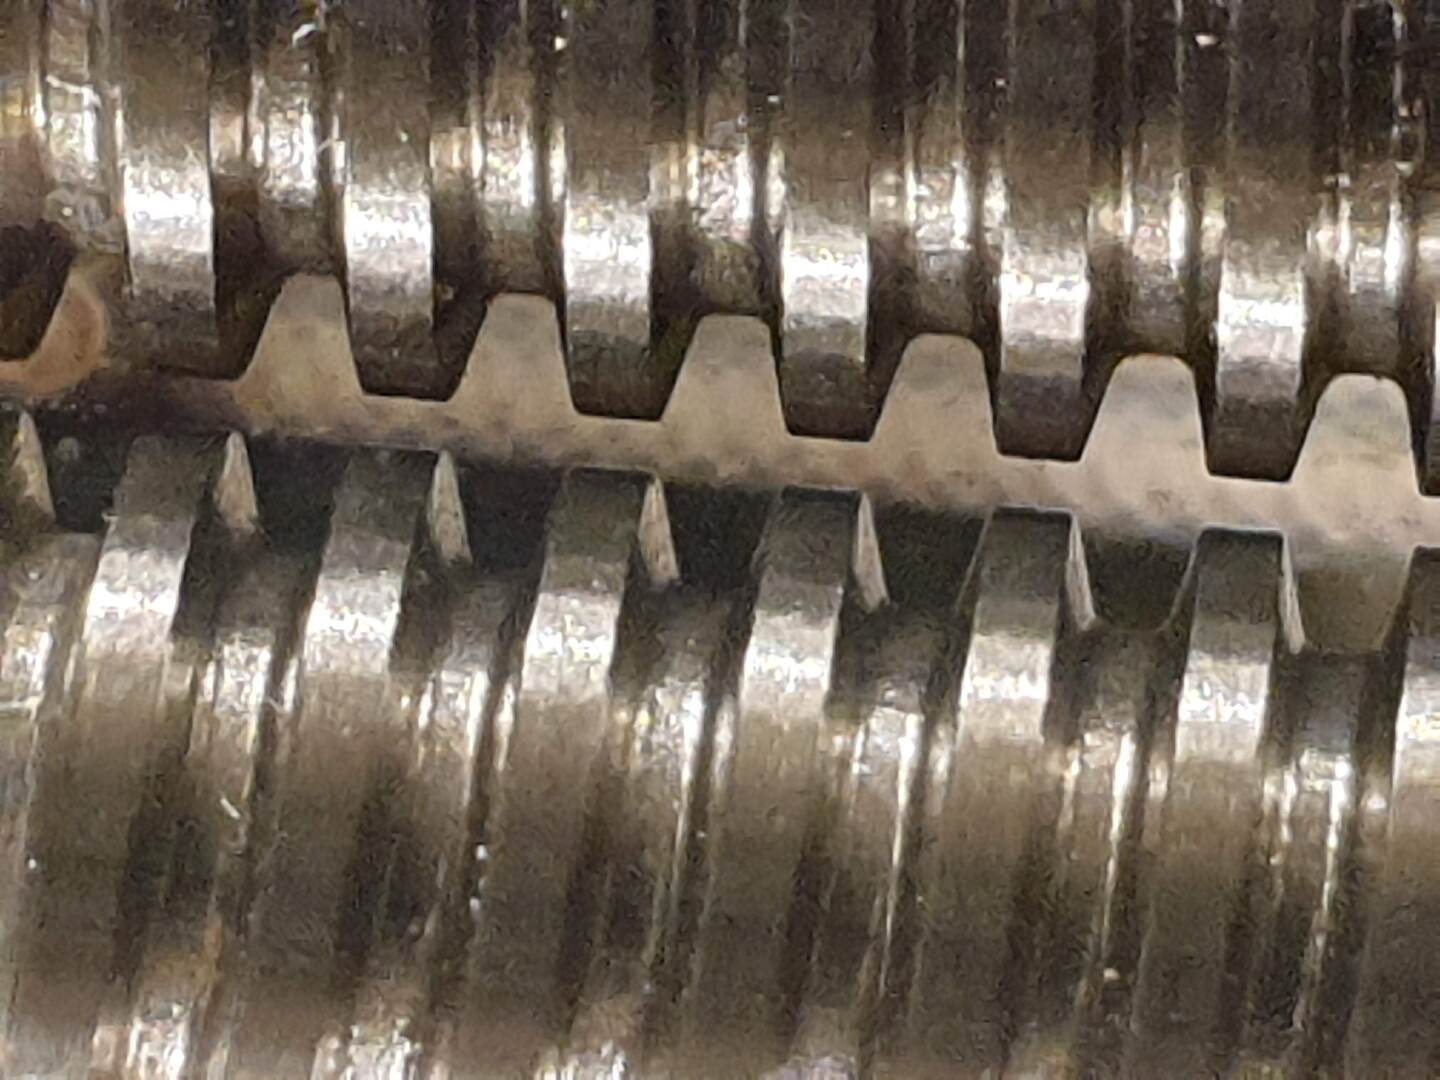
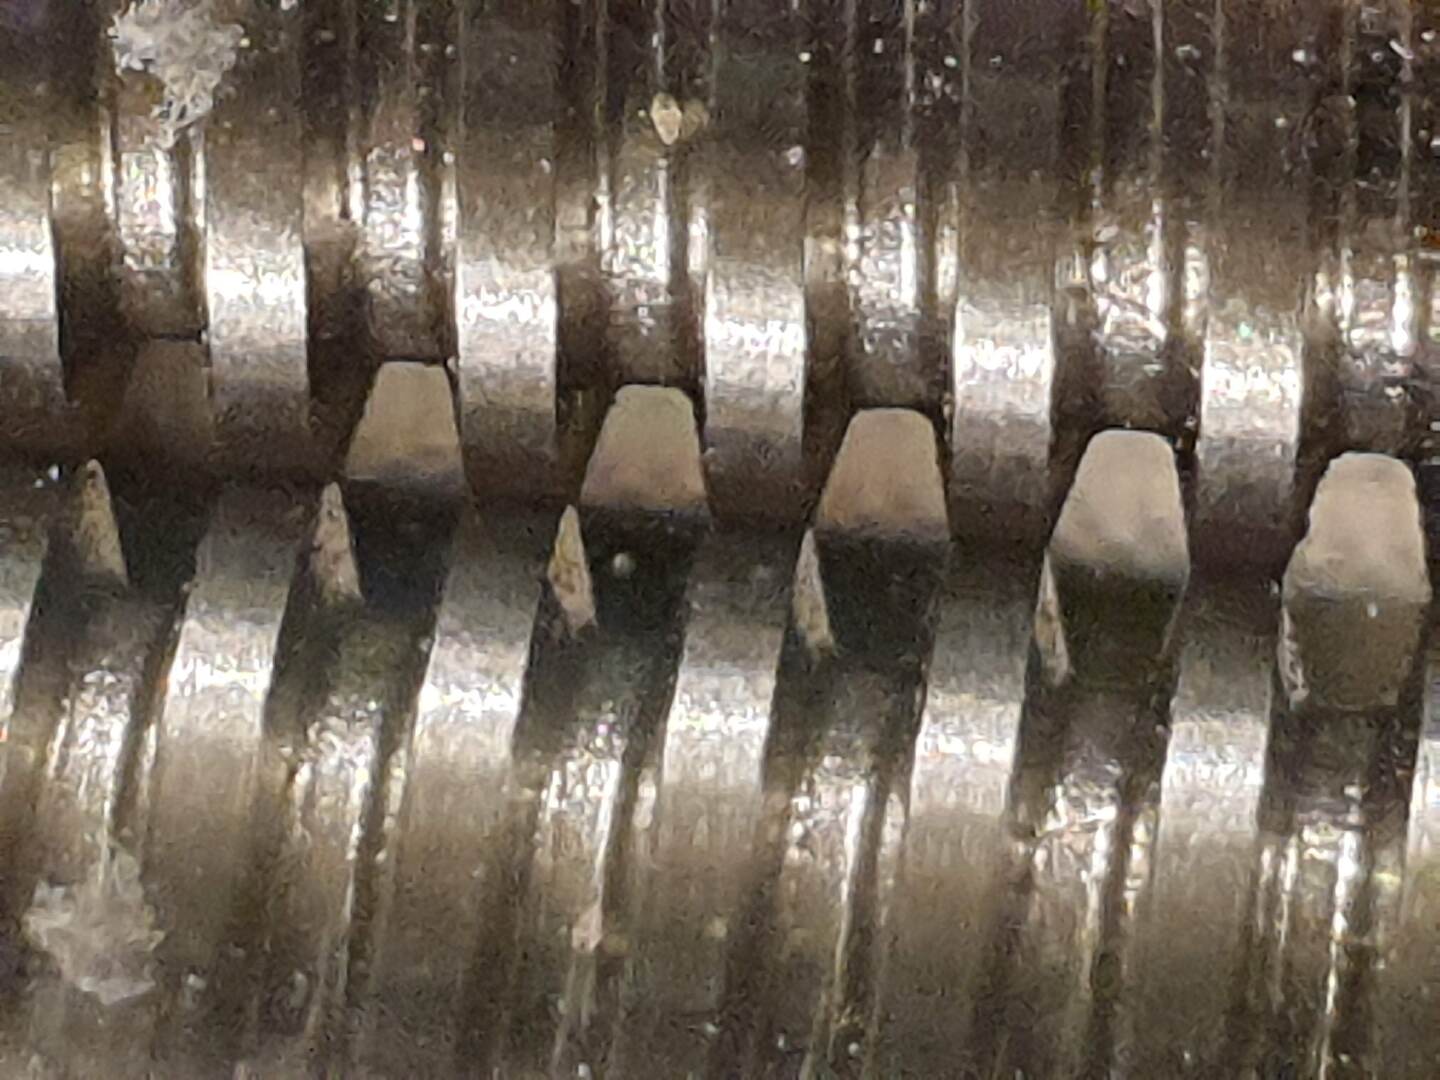
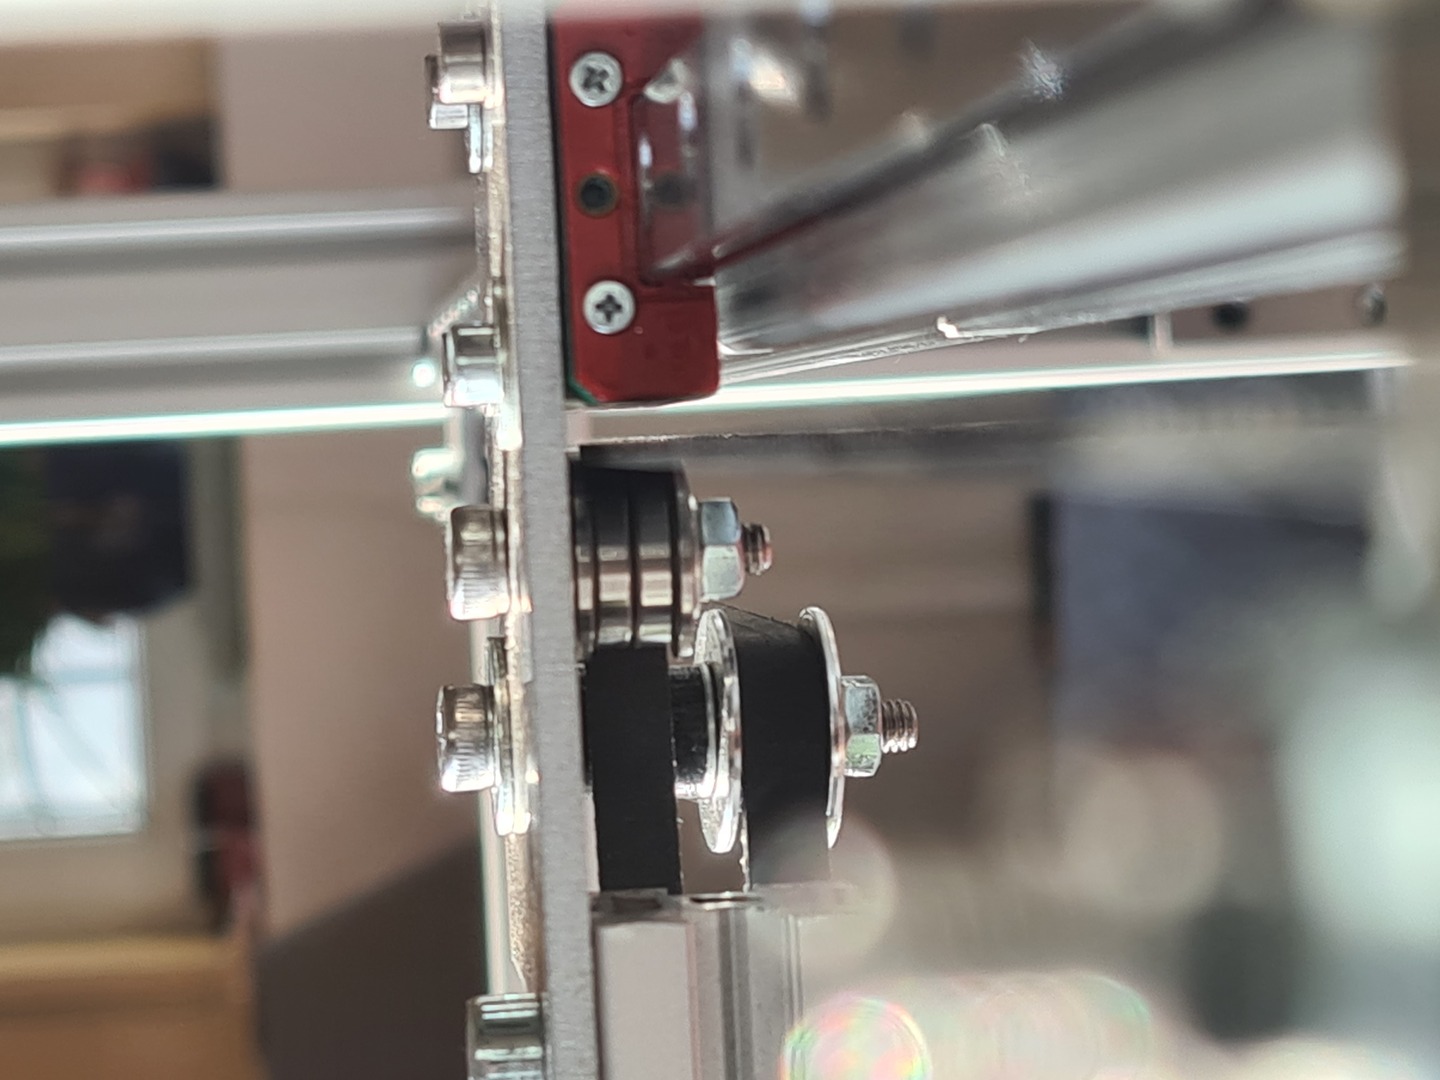
Bad parts like the above bent rod were also a pain and constantly caused difficult to diagnose issues.
The Jubilee remote elastic twist lock (REL) was an alternative to the motor-on-toolhead method of E3D, and it seemed a major improvement. I modified and re-used some aspects. In retrospect, it worked well, but wasn’t worth the huge hassle and special parts to get it working.
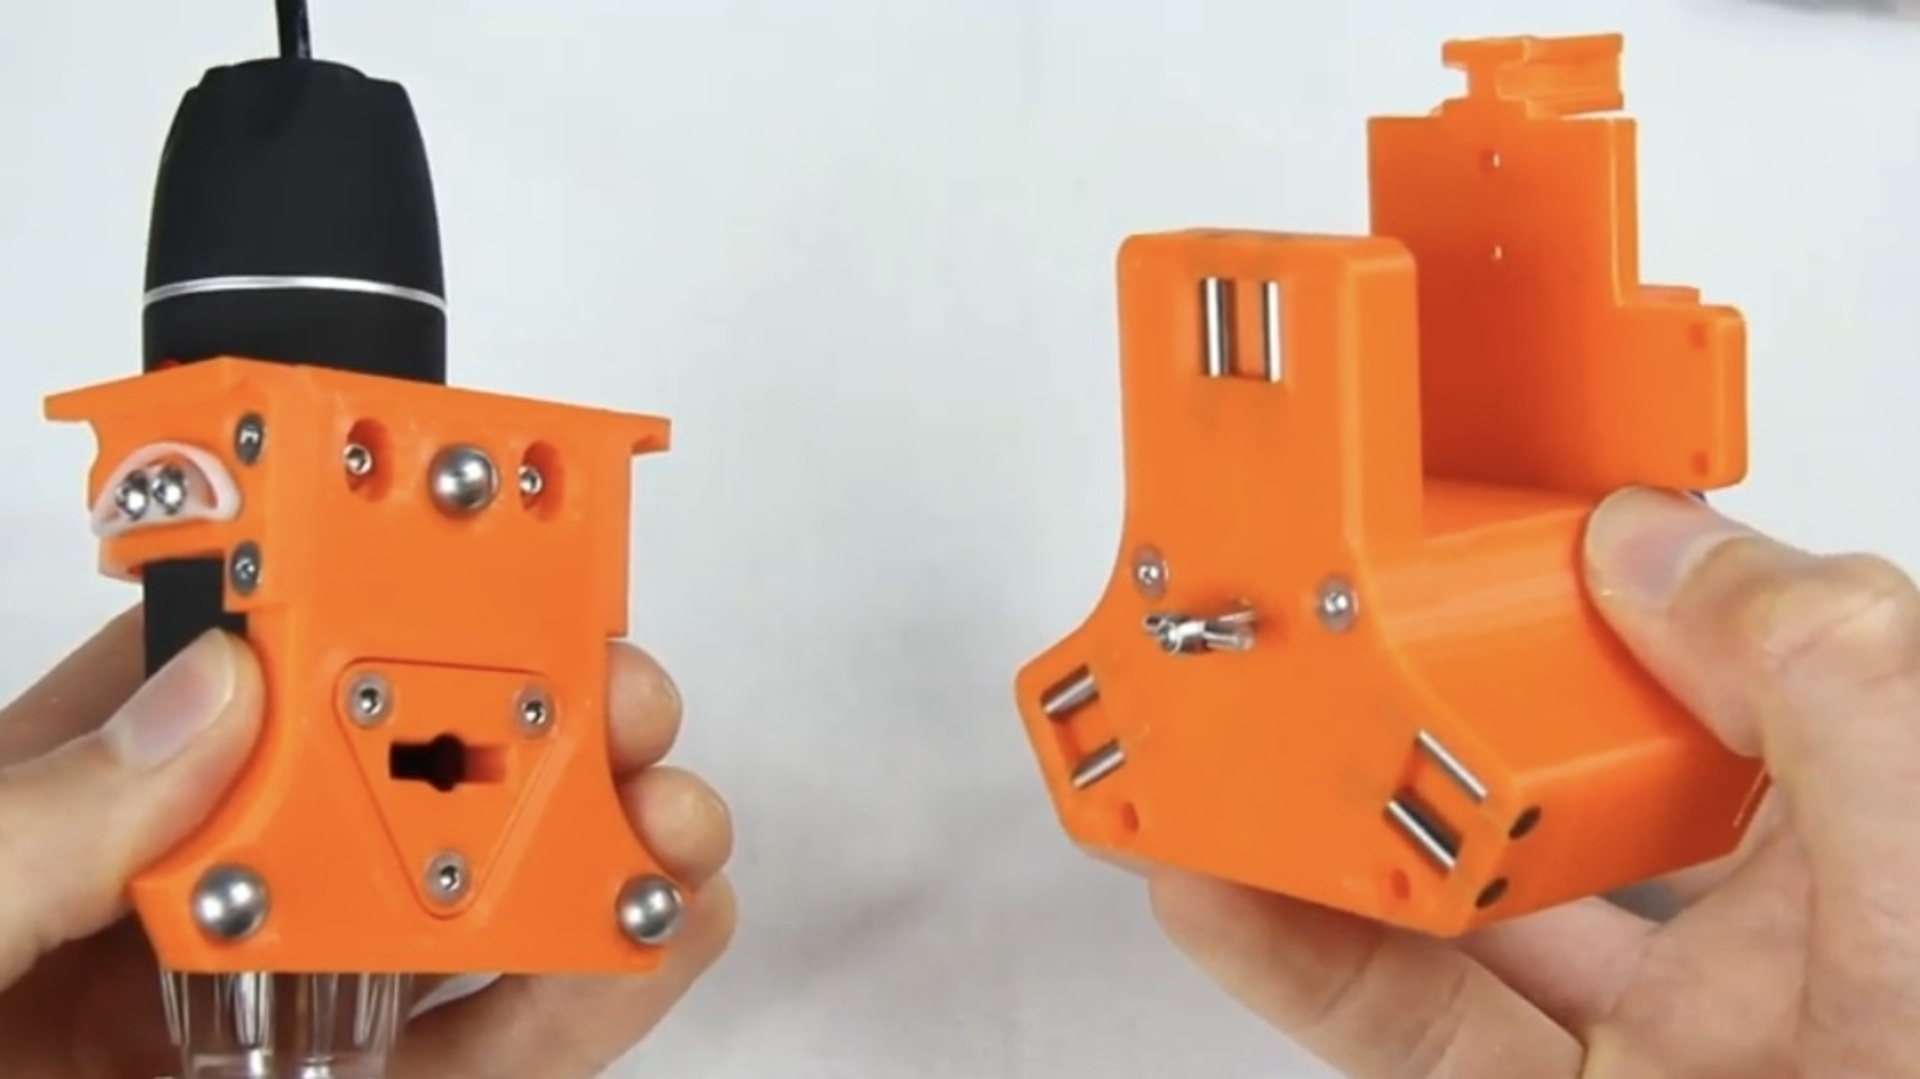
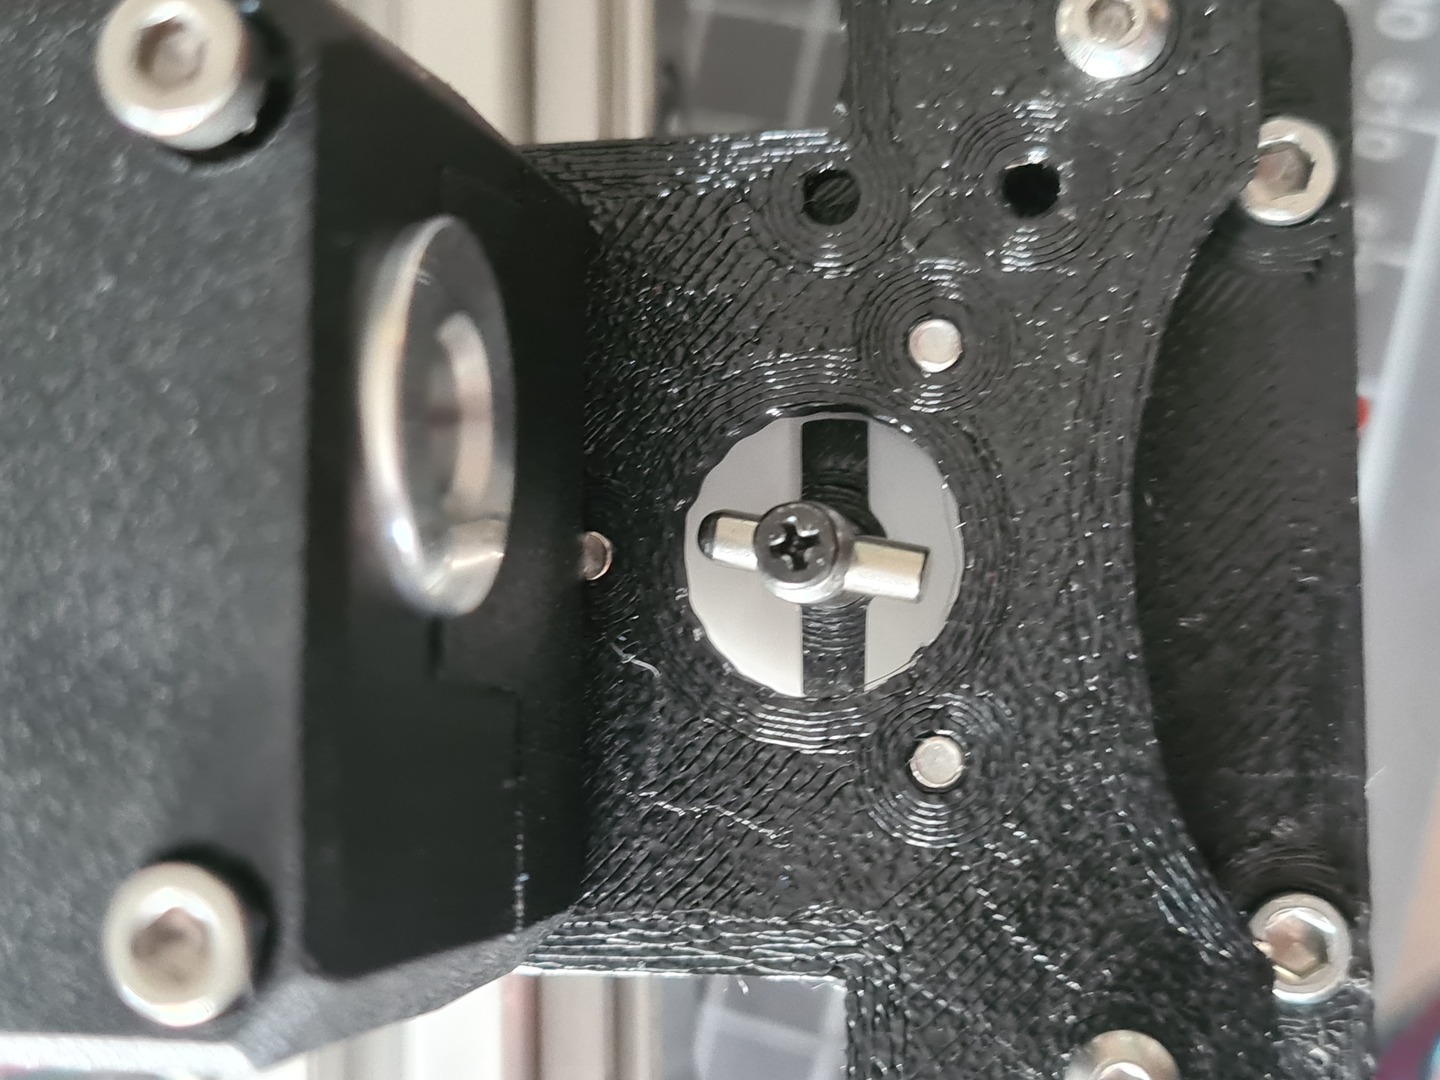
The waterjet cut tool plates were a success though, and I ended up using these for other purposes with a manual REL.
During this time, the prusa design was also unveiled and released to the public.
Once working, I printed a few parts and took it apart. It was too big for its own good and, as was shown by Bambulab later, too focused on the machine aspect. I did not consider enough external factors like filament storage and especially drying (which I now do using spool dryboxes based on ikea cake tins, a better design is available here) and slicing of models.
After tearing the printer apart, I owned a Jubilee, and finally an E3D toolchanger that I enclosed. I plan in the future to make my own enclosed printer with the learnings of this project, while learning more CAD.
Here are relevant links for the E3D toolchanger:
And more recent photos including some mods: a chamber heater, multiple extra thermistors and an accelerometer:
